Stop Ads with Pi-hole
Pi-hole is a DNS that intercepts DNS requests and blocks any request it deems is for an ad. This allows you to implement network wide ad-blocking across all devices, e.g. mobile phones, laptops, tablets, smart-tvs, etc.
In this guide we will setup a Pi-hole server on a Raspberry Pi. Luckily this is super simple.
Components
We will need:
- A Raspberry Pi, I would go with the latest and greatest Raspberry Pi 4 B+ with 4GB Ram, but it will run on most Raspberry Pi’s fine. I am going to run it on an old Raspberry Pi 3 B+ that I have lying around
- A Micro-SD Card, I have a Samsung EVO Plus 32 GB microSD.
- A power supply, I suggest the Official Raspberry Pi Power Supply for power and an Ethernet Cable connected to your network switch.
Optionally you can put your Raspberry Pi in a funky case, mine is in a Rainbow Pibow Case
Flash the SD card
We will use Raspberry Pi OS as the base image as the Raspberry Pi guys have gone to the effort of creating it for us.
-
Download Raspberry Pi OS - Lite
-
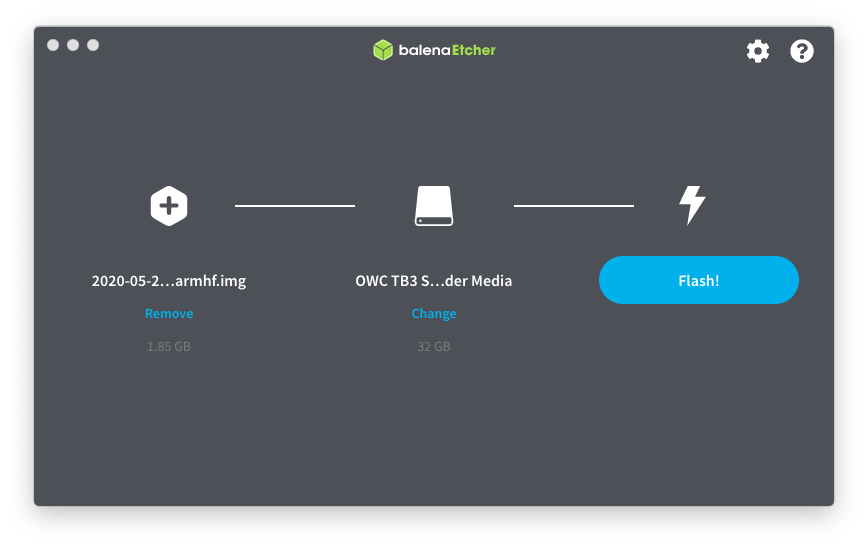
Flash your Micro SD cards with the software of your choice for your platform, I use Balena Etcher because it is easy.
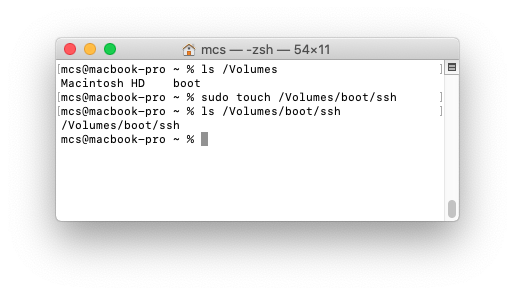
- Add an “ssh” file in to the boot partition to allow SSH access.
Boot it up
Work out the IP address and reserve it on my router
The Raspberry Pi you started should be resolvable at raspberrypi.local.
I use ping to resolve this to the IP address on my local network.
ping raspberrypi.local
# PING raspberrypi.local (192.168.86.39): 56 data bytes
# 64 bytes from 192.168.86.39: icmp_seq=0 ttl=64 time=1.326 ms
# ...
I am also taking the opportunity to reserve static IP addresses on my router the Raspberry Pi.
This just makes it easier in the future.
I am using the IP 192.168.86.254.
For the new IP address to be adopted I need to restart the device.
Now when I ping it I get the static IP address.
ping raspberrypi.local
# PING raspberrypi.local (192.168.86.254): 56 data bytes
# 64 bytes from 192.168.86.254: icmp_seq=0 ttl=64 time=1.237 ms
# ...
SSH in to the Raspberry Pi and perform initial setup
SSH in to the server as the pi user.
The password will be raspberry, don’t worry we will be changing this.
Once logged on run
sudo raspi-config
This will bring up the Configuration GUI. There are a few things we need to do here:
- Update the tool using option 8.
- Change the password so that the Raspberry Pi is secure. This is option 1 on the menu.
- Set a hostname so you don’t need to remember the IP addresses. This is option 2 then option N1. I will call my node
pihole. - Expand the filesystem to the entire SD card. This is option 7 then option A1.
- Change the GPU memory split (it doesn’t need that much for what we are doing). THis is option 7 then option A3. Set the memory to 16.
Choosing finish will reboot your Raspberry Pi and set the configuration.
Add your SSH key
Passwords are rubbish. We will be authenticating with our Raspberry Pis using SSH keys instead. If you don’t already have one they are easy to generate.
To check if you have one already try out
ls ~/.ssh/id_rsa.pub
If you don’t have an SSH key already you can use ssh-keygen to create your own.
Now copy the SSH key to the Raspberry Pi. I am using the new hostname here.
ssh-copy-id [email protected]
Now when you SSH on to the server you won’t be asked for a password. You will be authenticating using your SSH keys.
Install Pi-hole
This is super simple, just run curl -sSL https://install.pi-hole.net | bash.
After performing some package installation steps you should be presented with this install window.

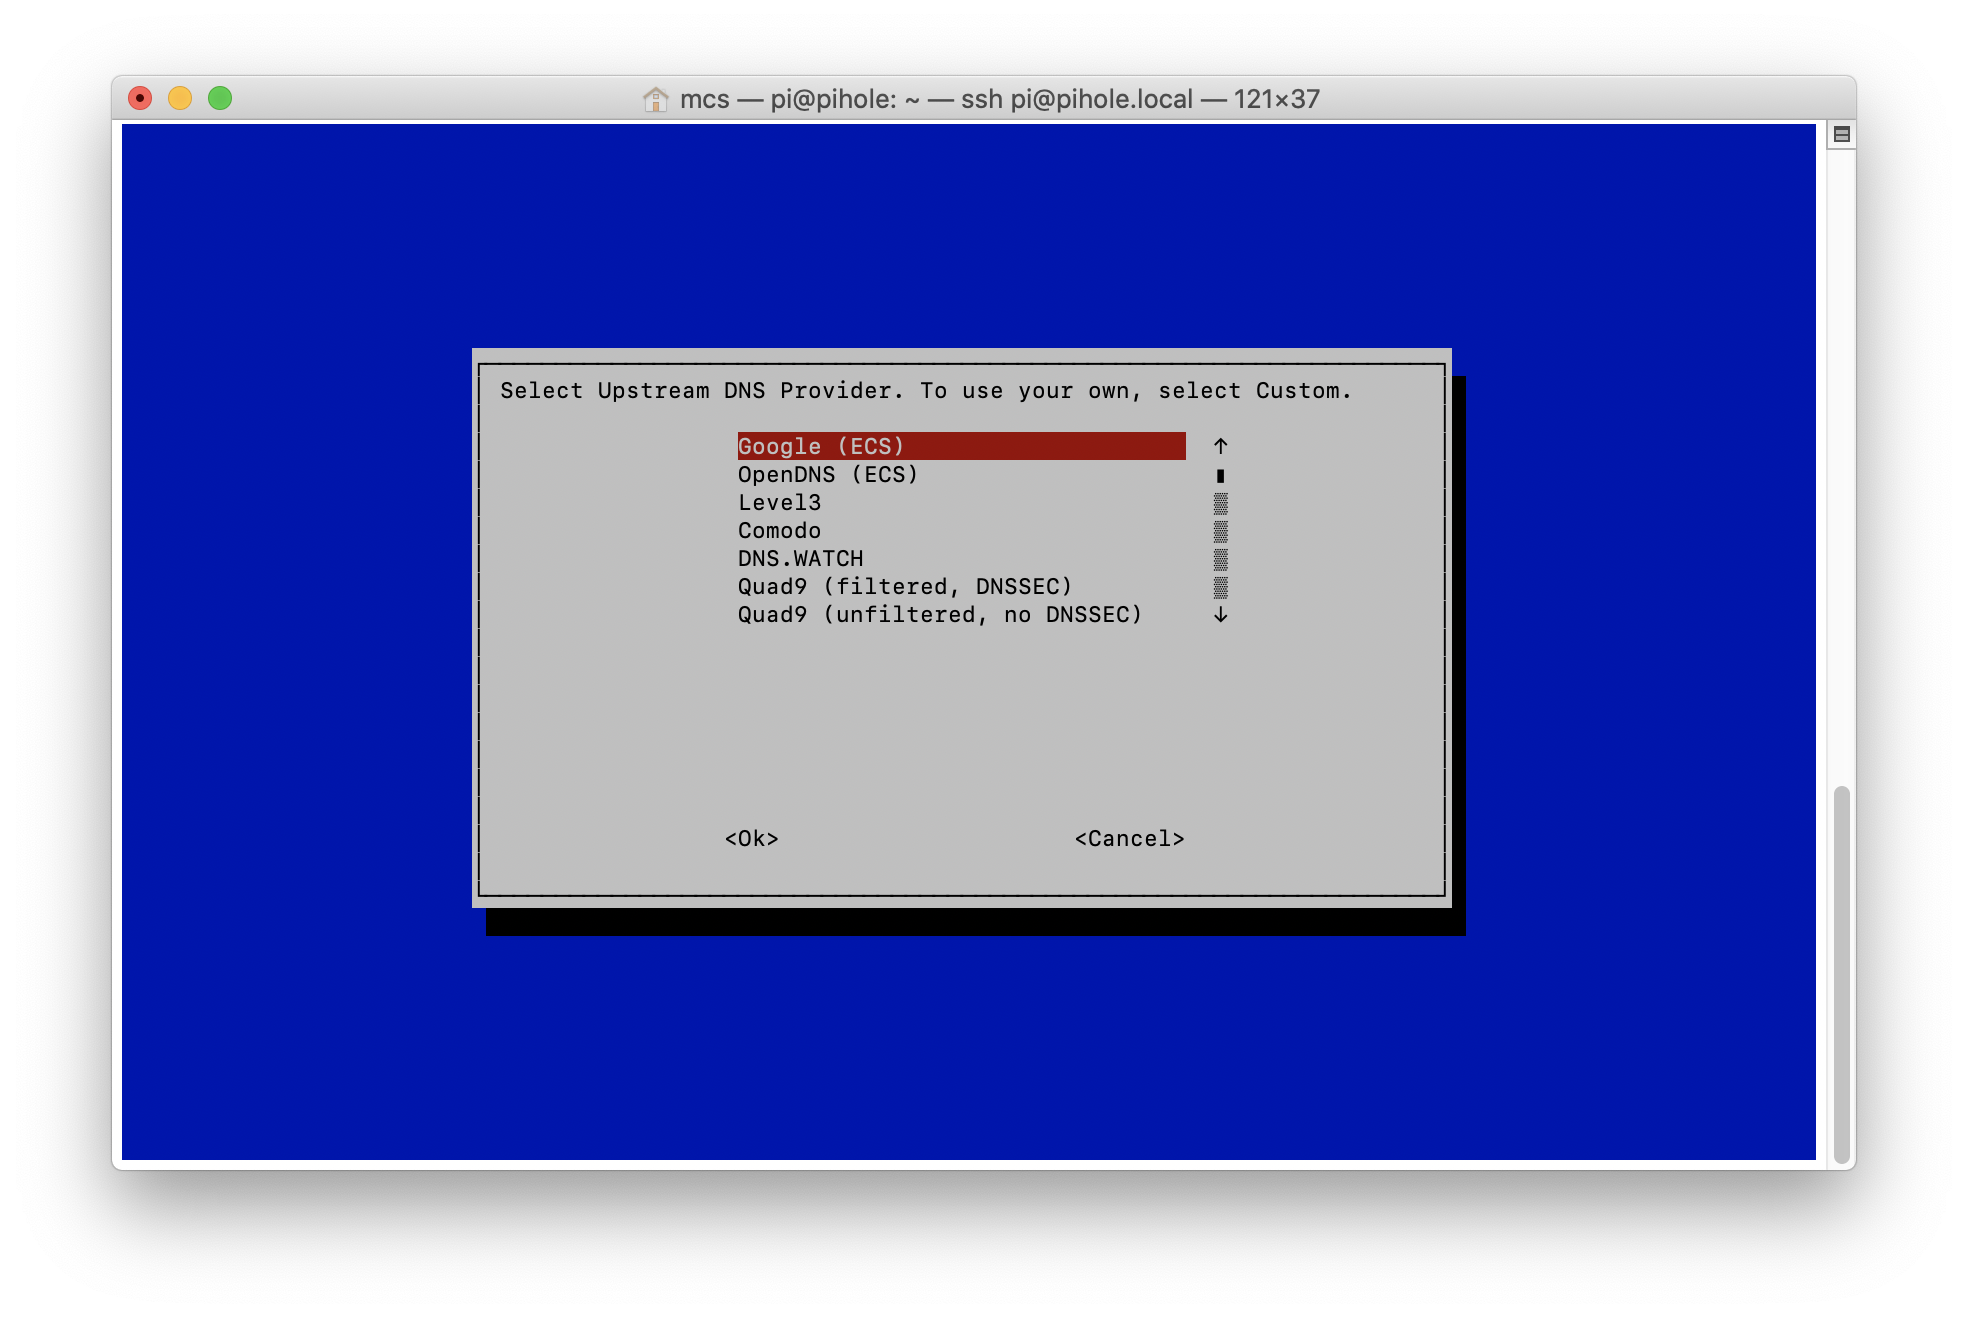
Progressing through the installation steps the next window of note is choosing the upstream DNS provider. This will be the DNS provider that the Pi-hole will forward non-blocked requests to. I have chosen the Google DNS provider, but you can choose whichever you wish.
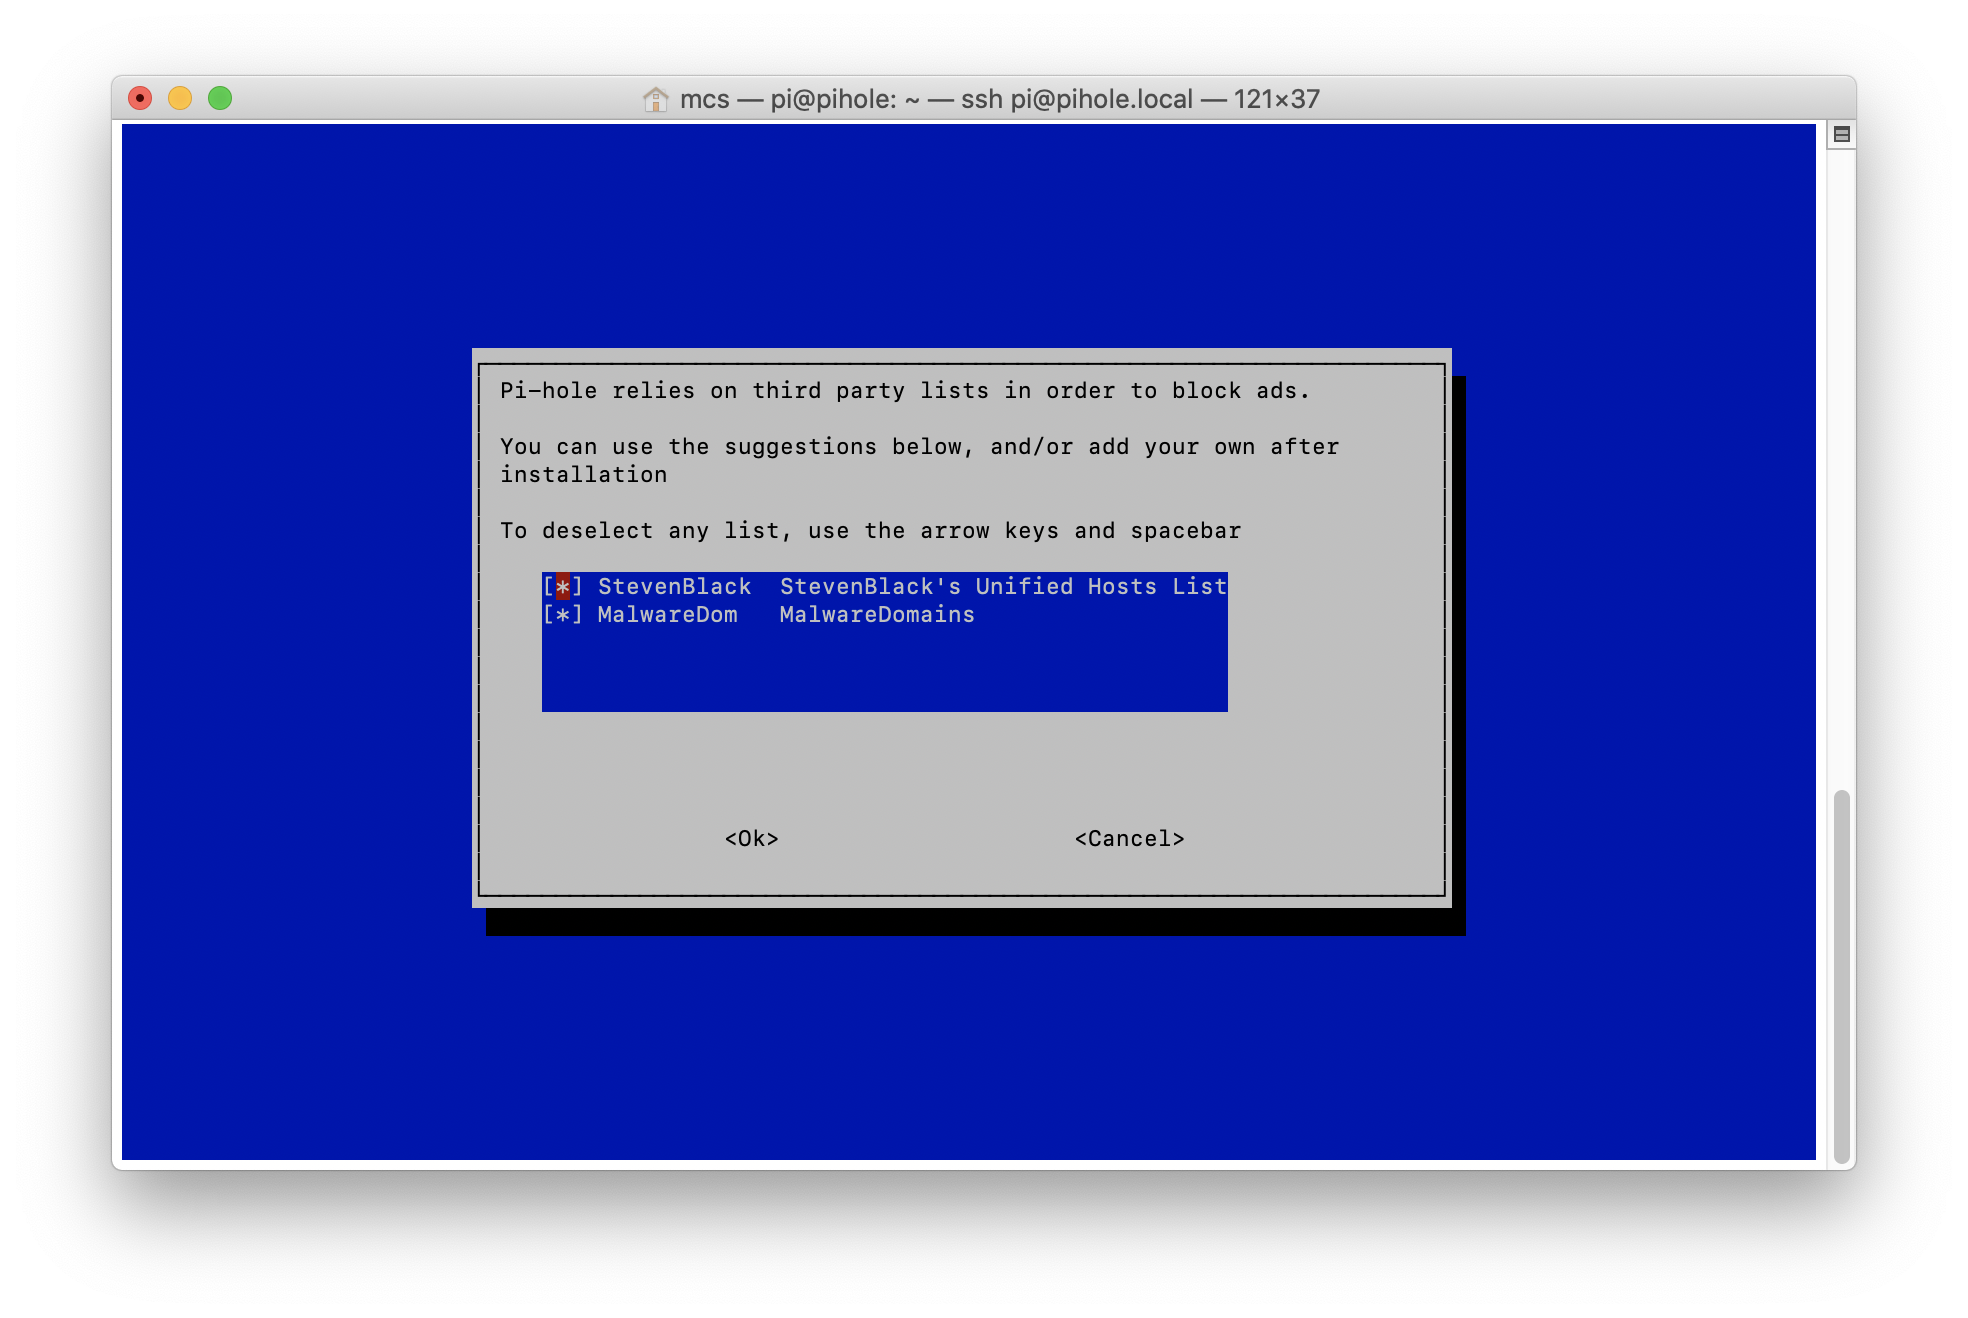
The next step of note is where we can specify which lists are used to block DNS requests. I will stick with the default.
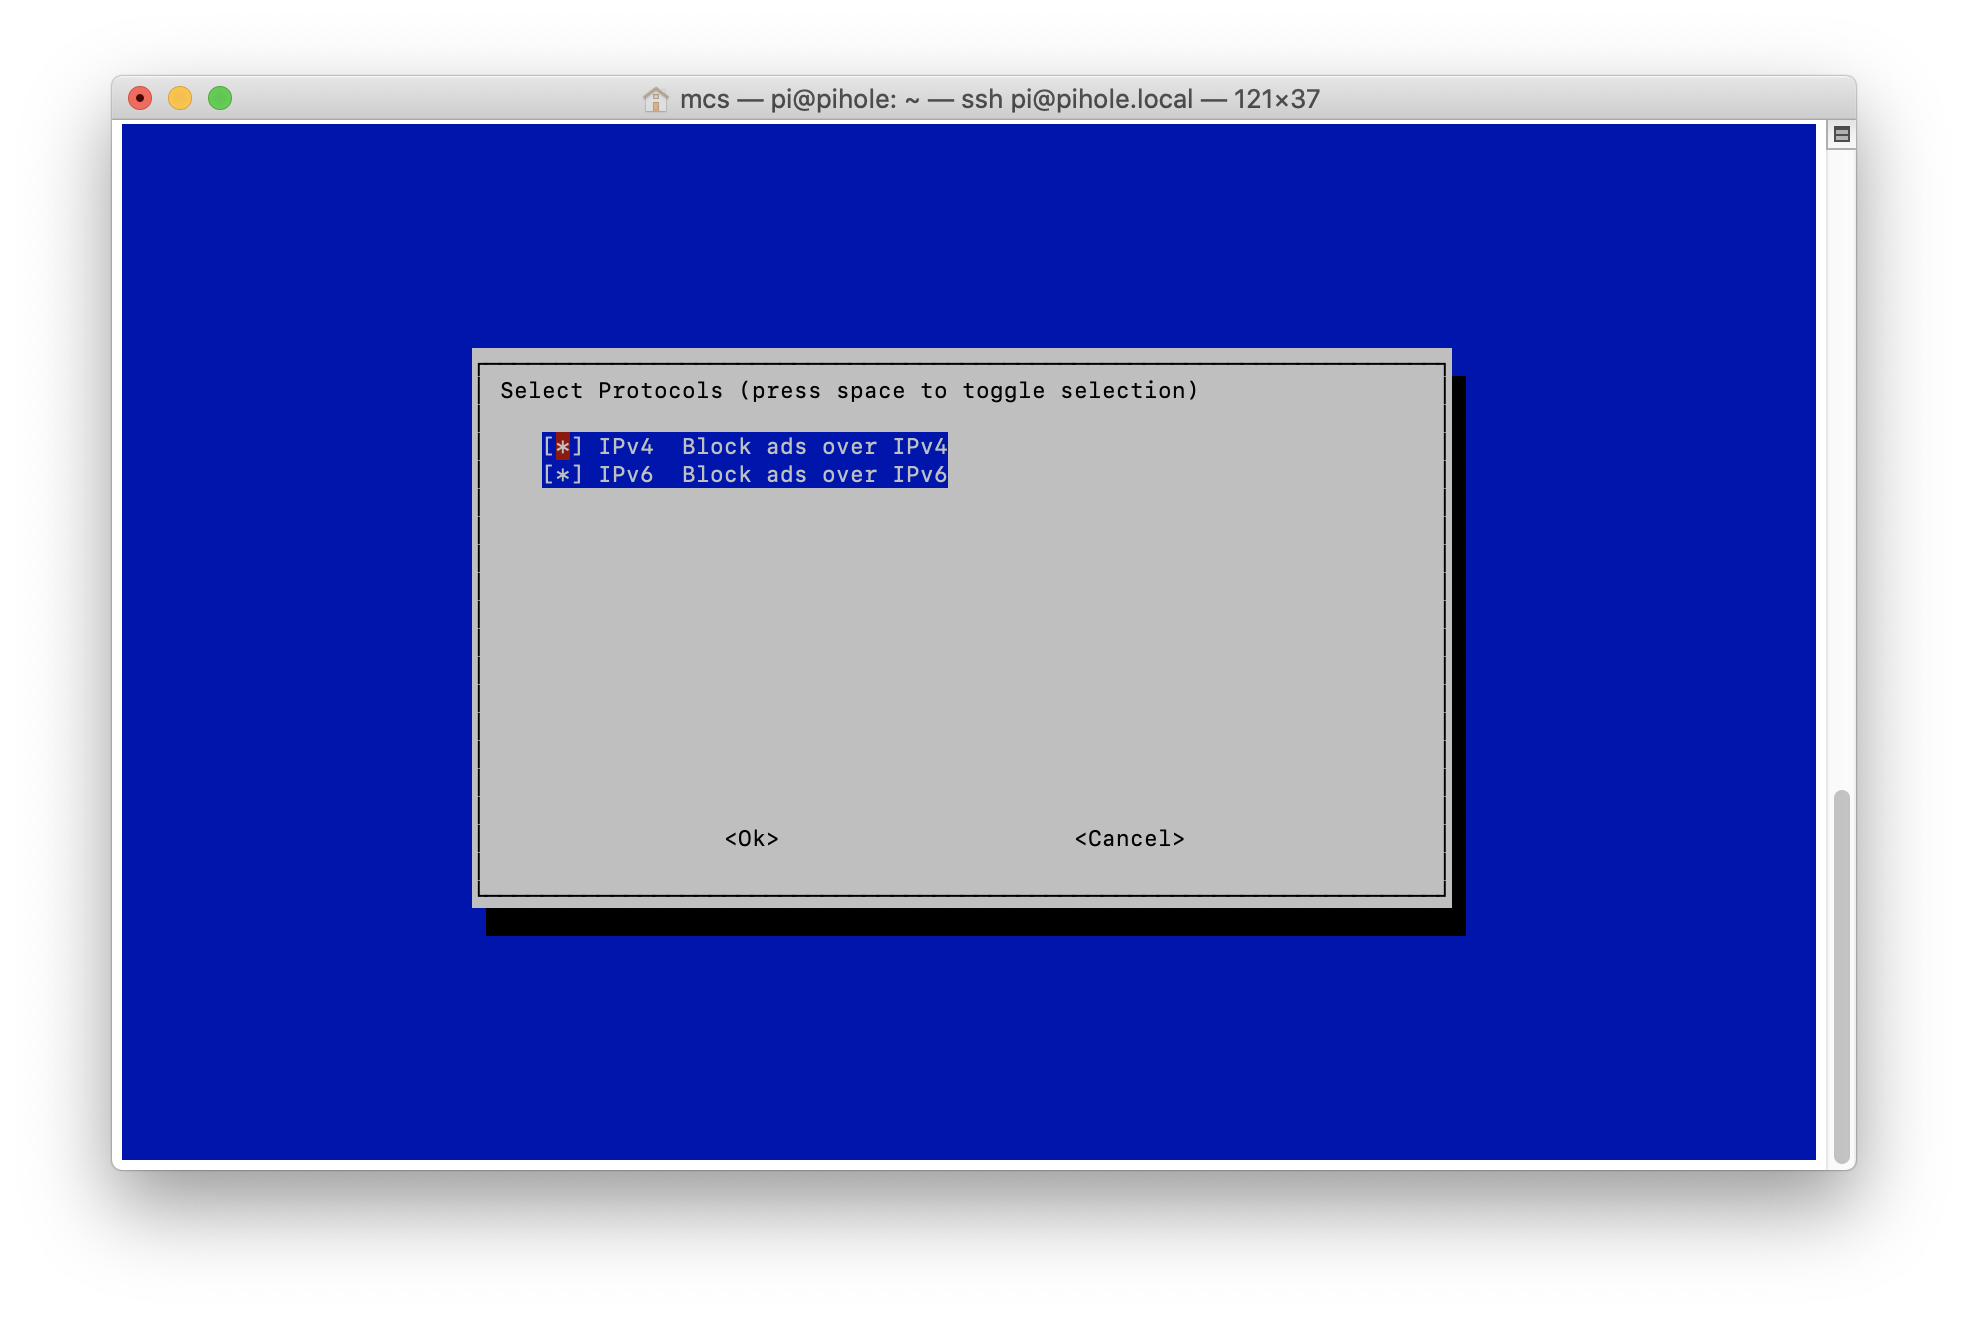
Next we can choose to support IPv4, IPv6 or both. I leave this as the default, both.
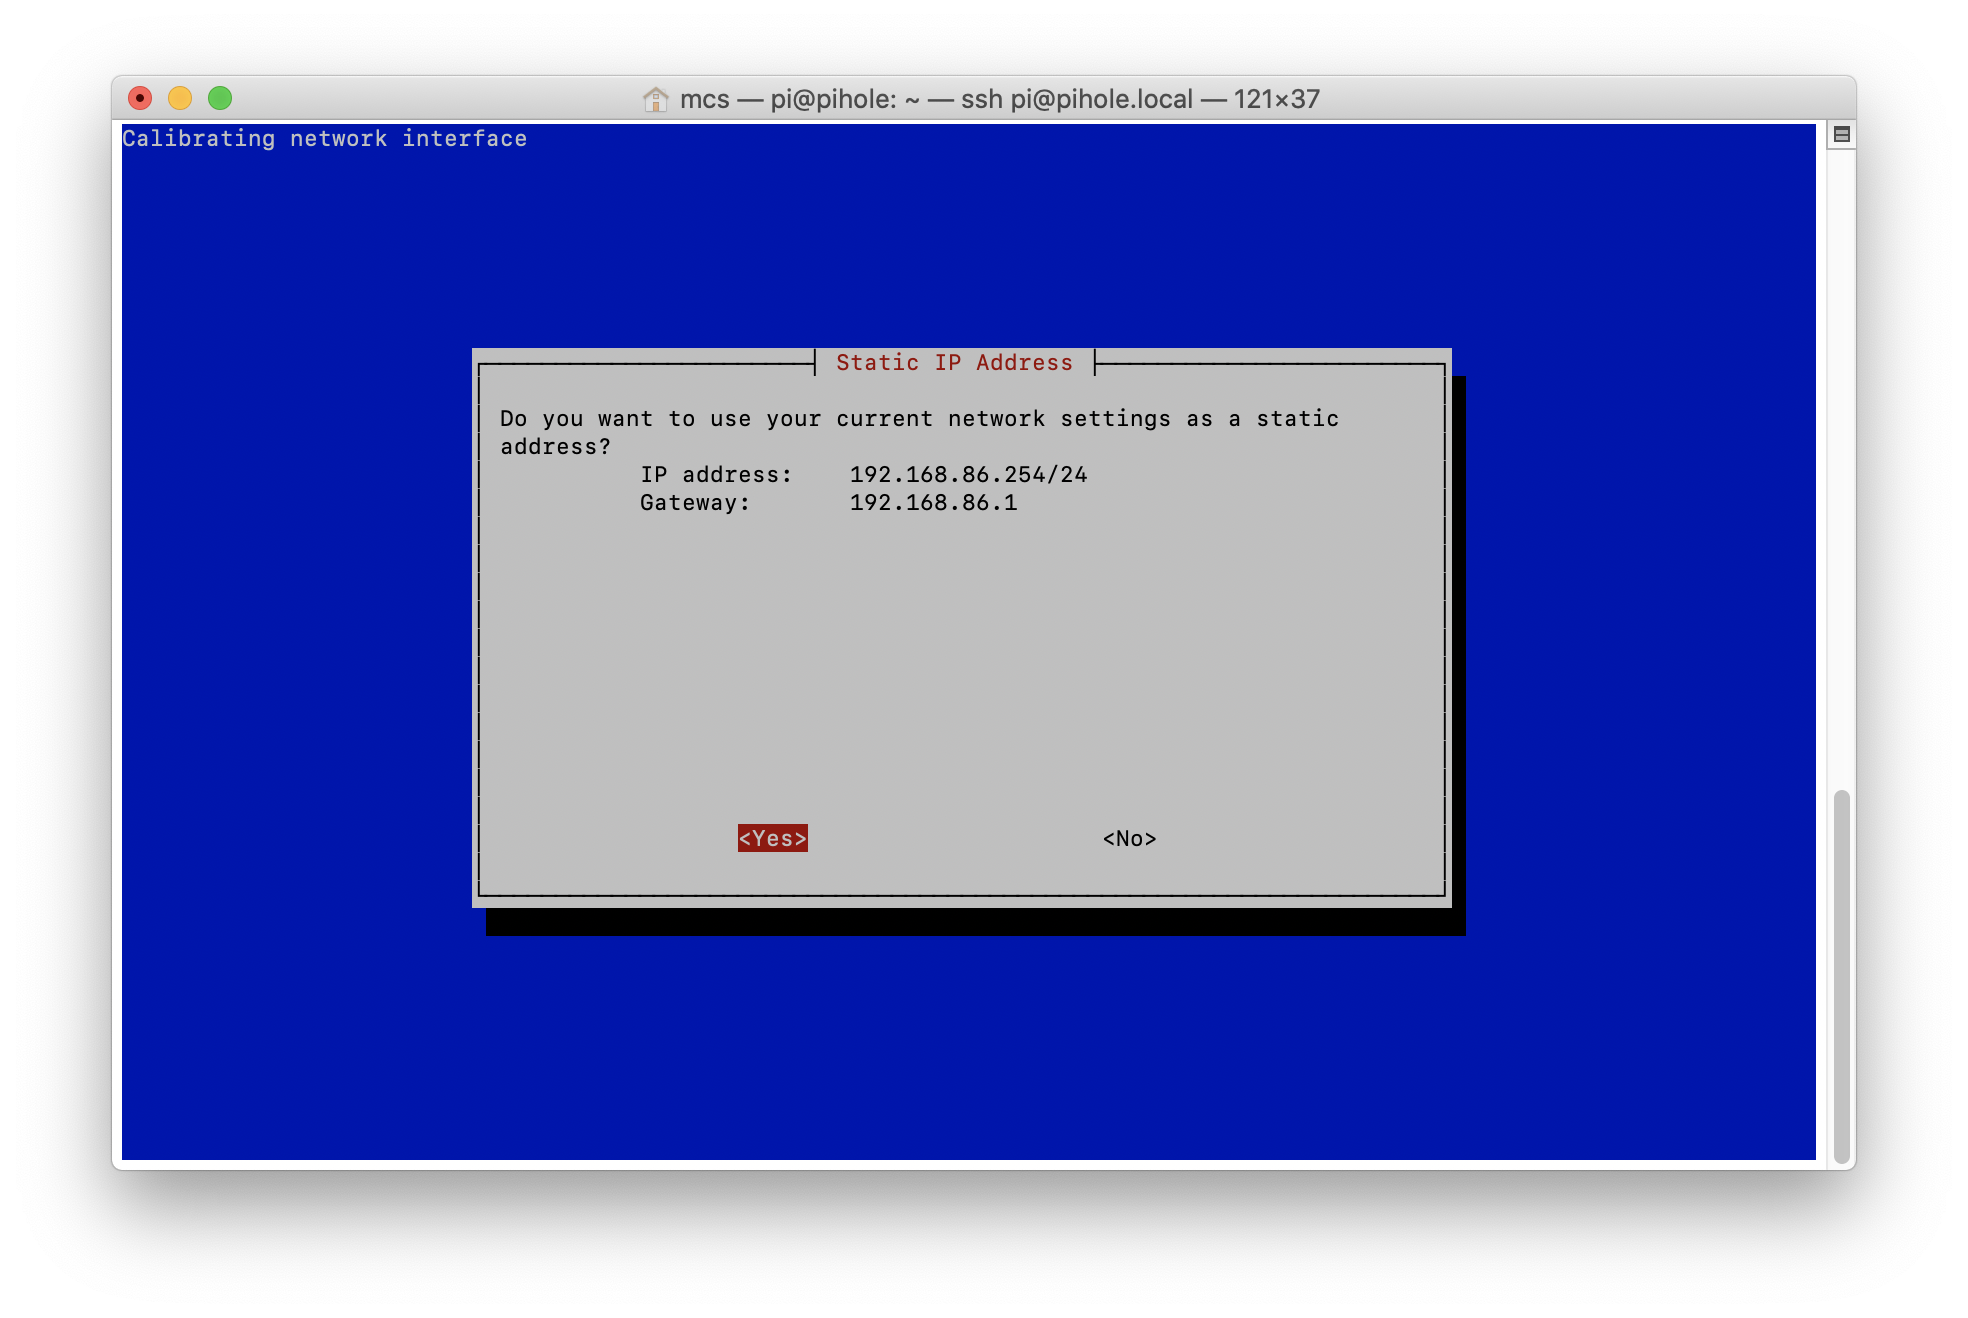
Since we previously configured the static IP address for our Rasbperry Pi the next step is a confirmation step. If you haven’t yet configured the static IP you can change it now.
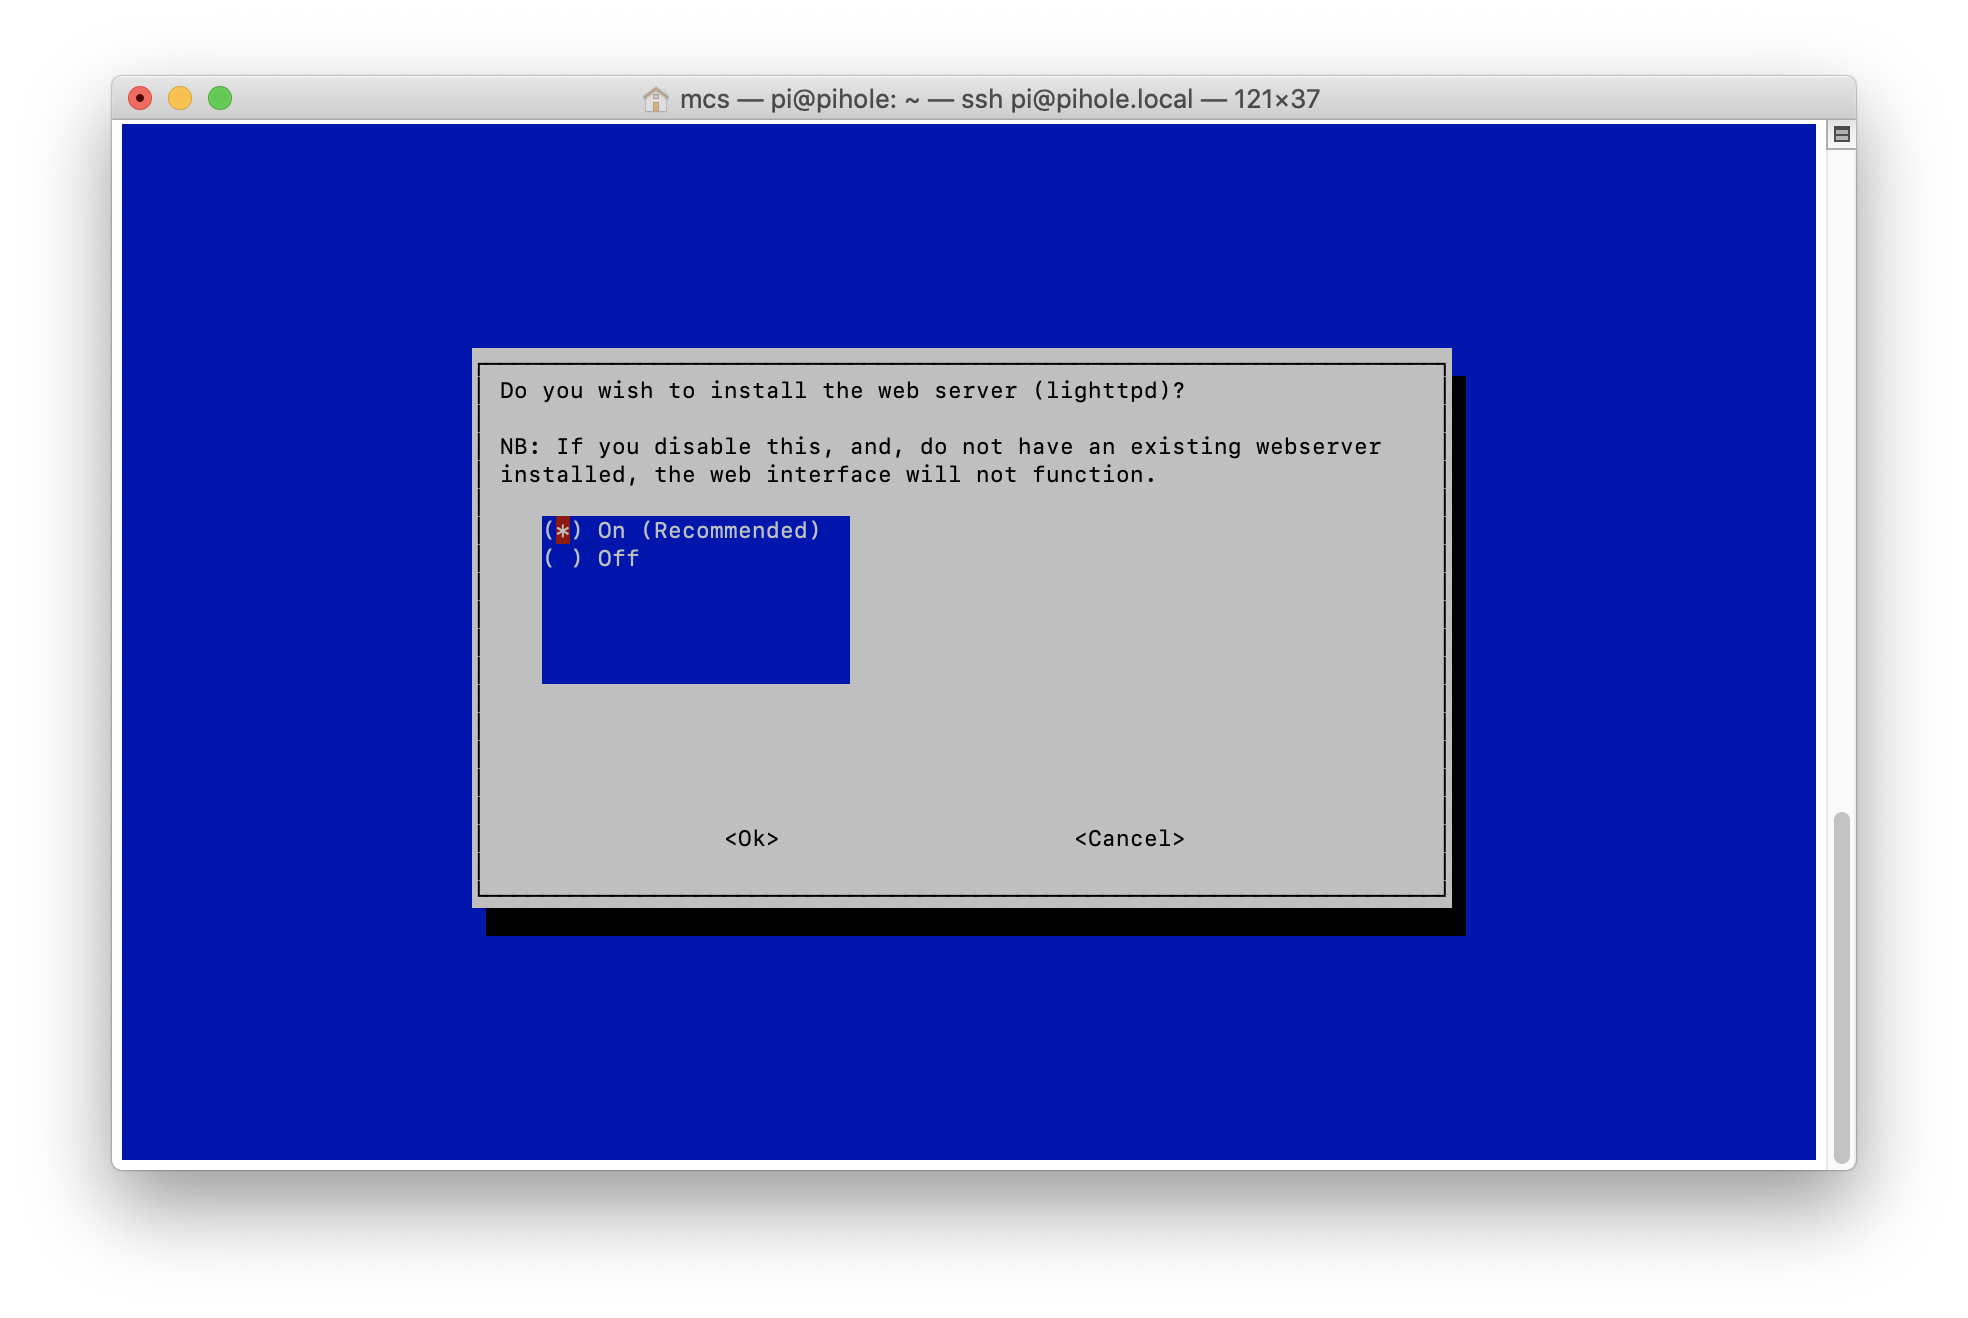
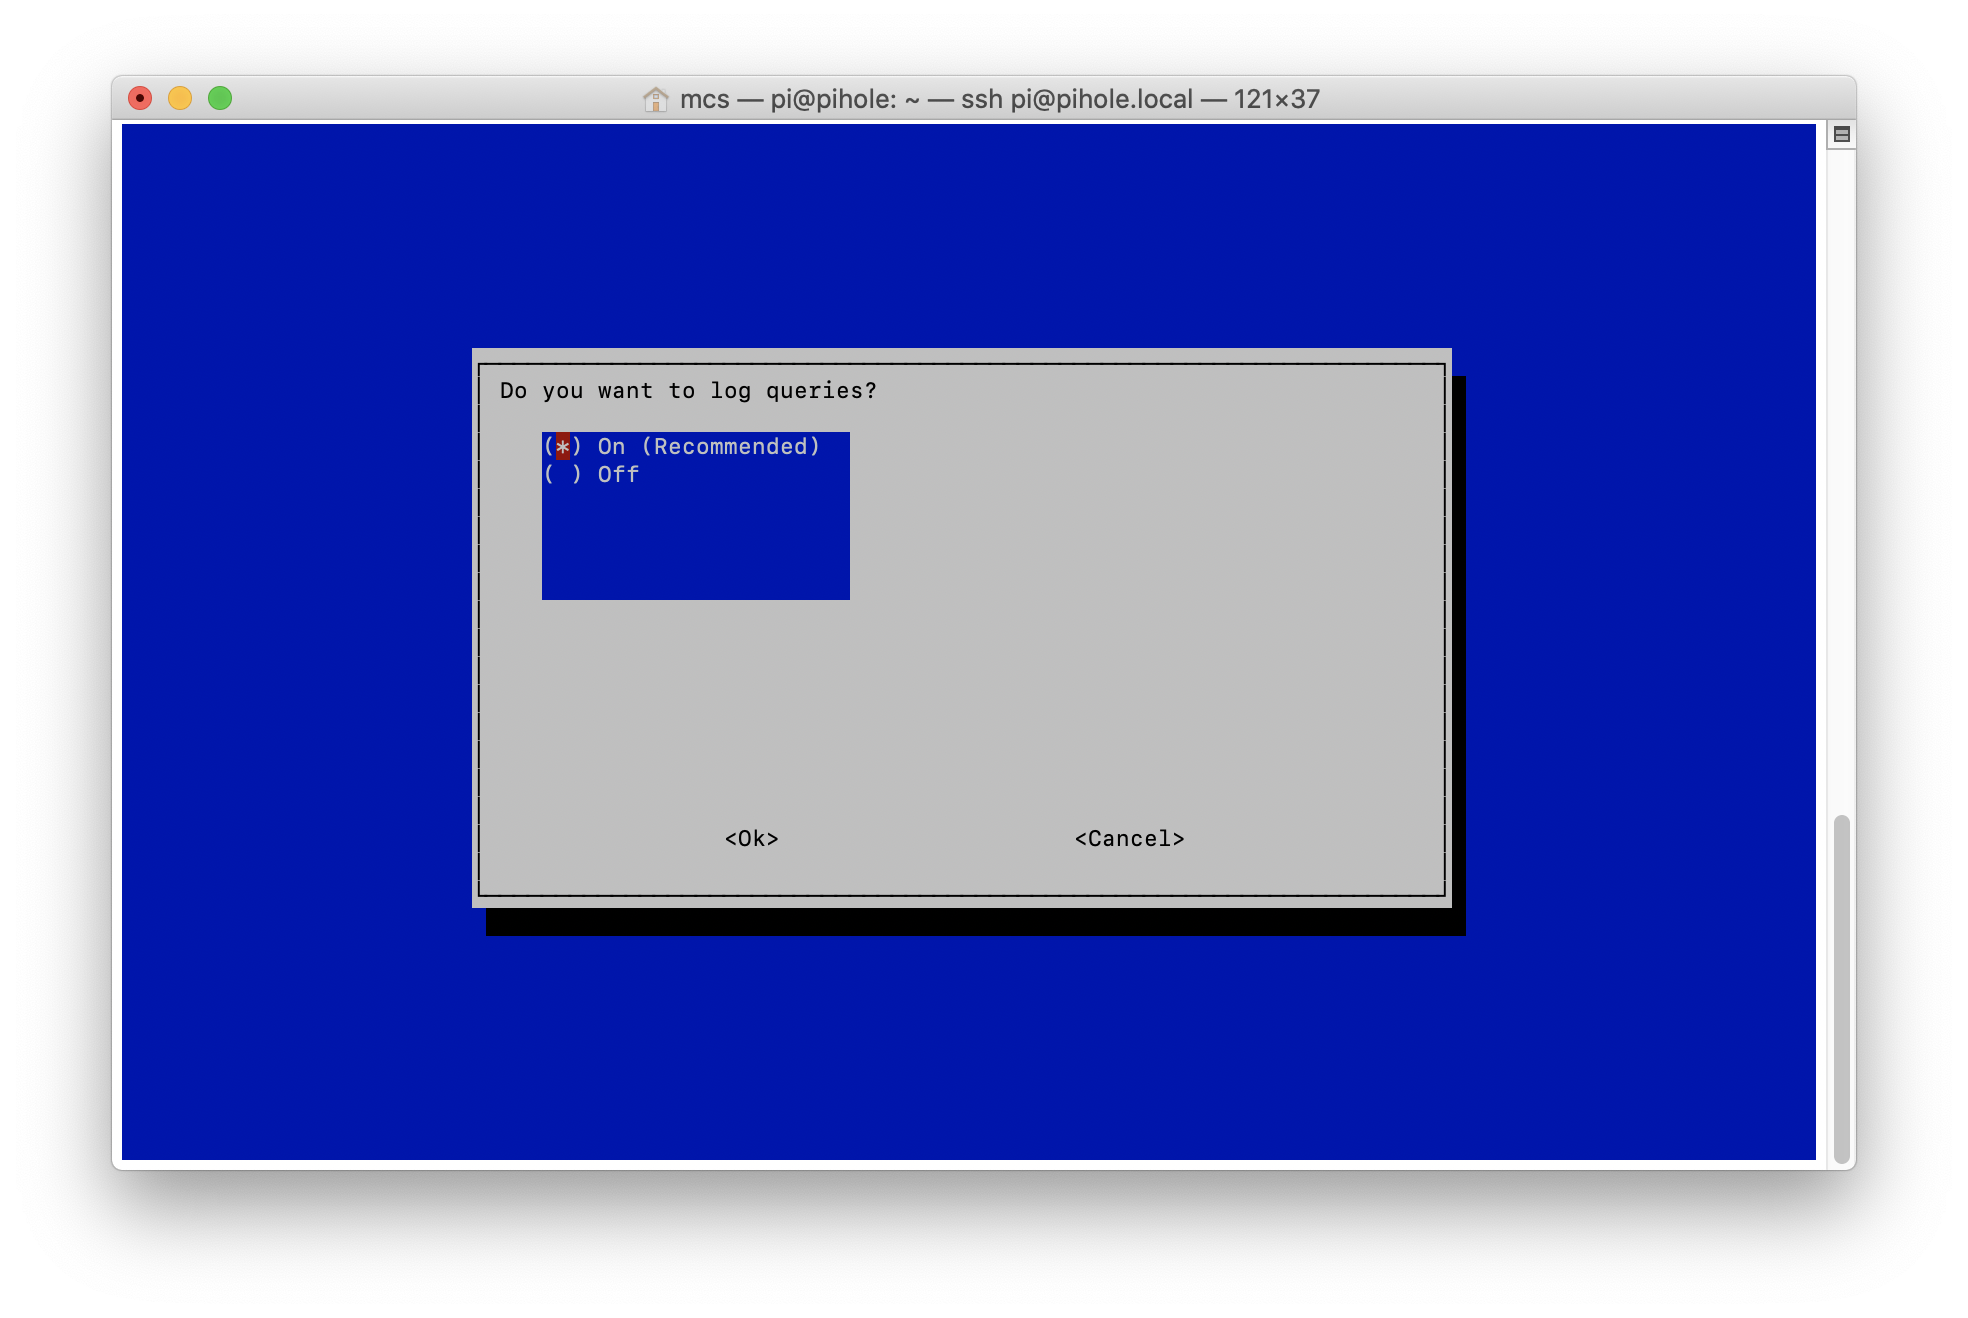
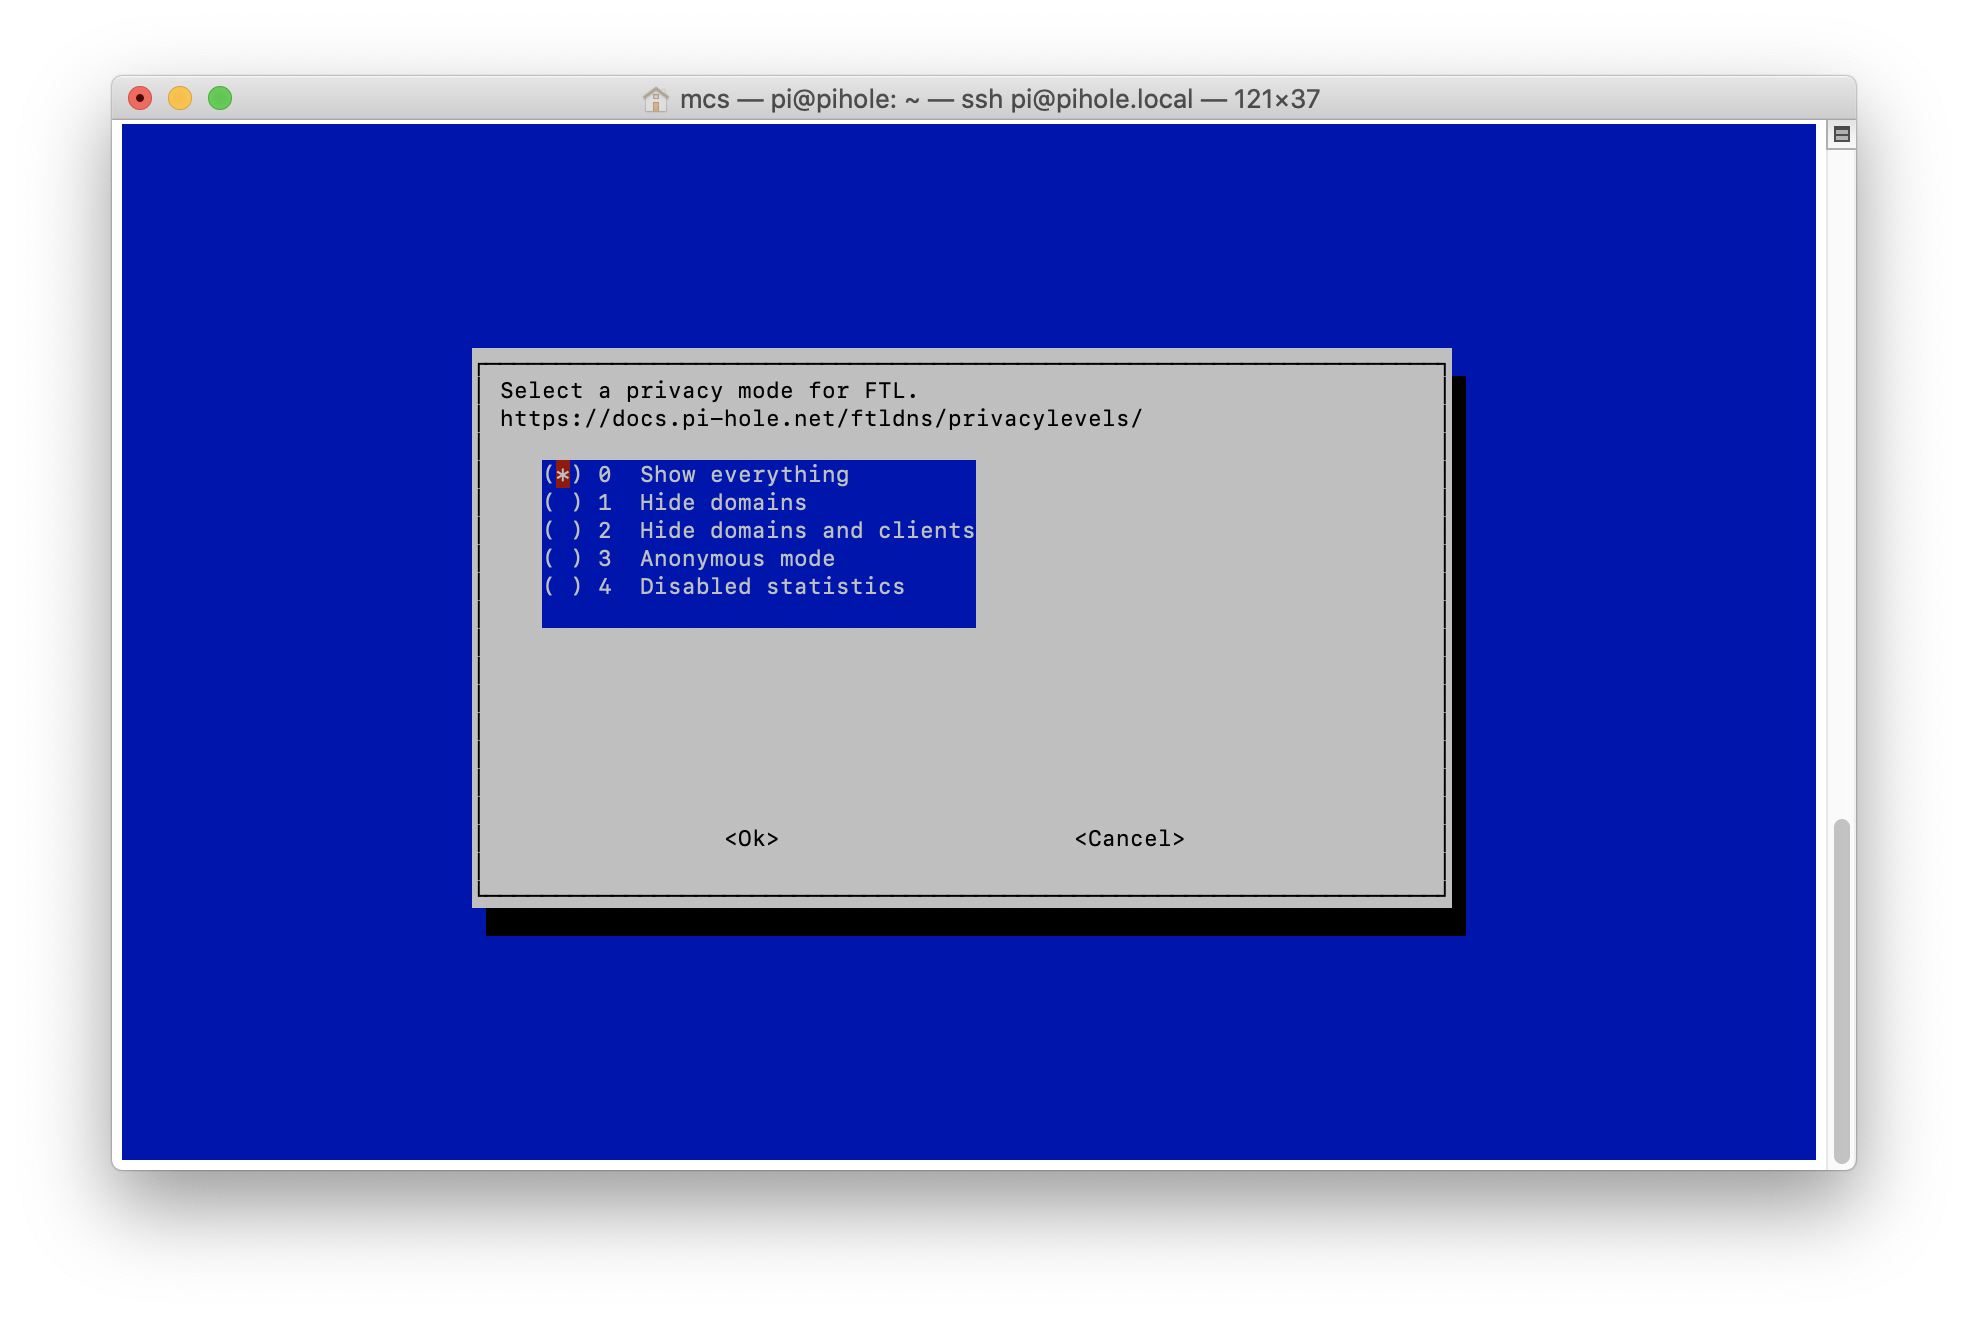
The next few steps I leave at the defaults, to install the web interface, a web server, to log queries and to store and display all details.

Finally you will be presented with the installation complete screen. This screen provides you with confirmation of the IPv4 and IPv6 addresses that the Pi-hole instance is hosted on, a link to the instance and the password to access the main part of the web interface.
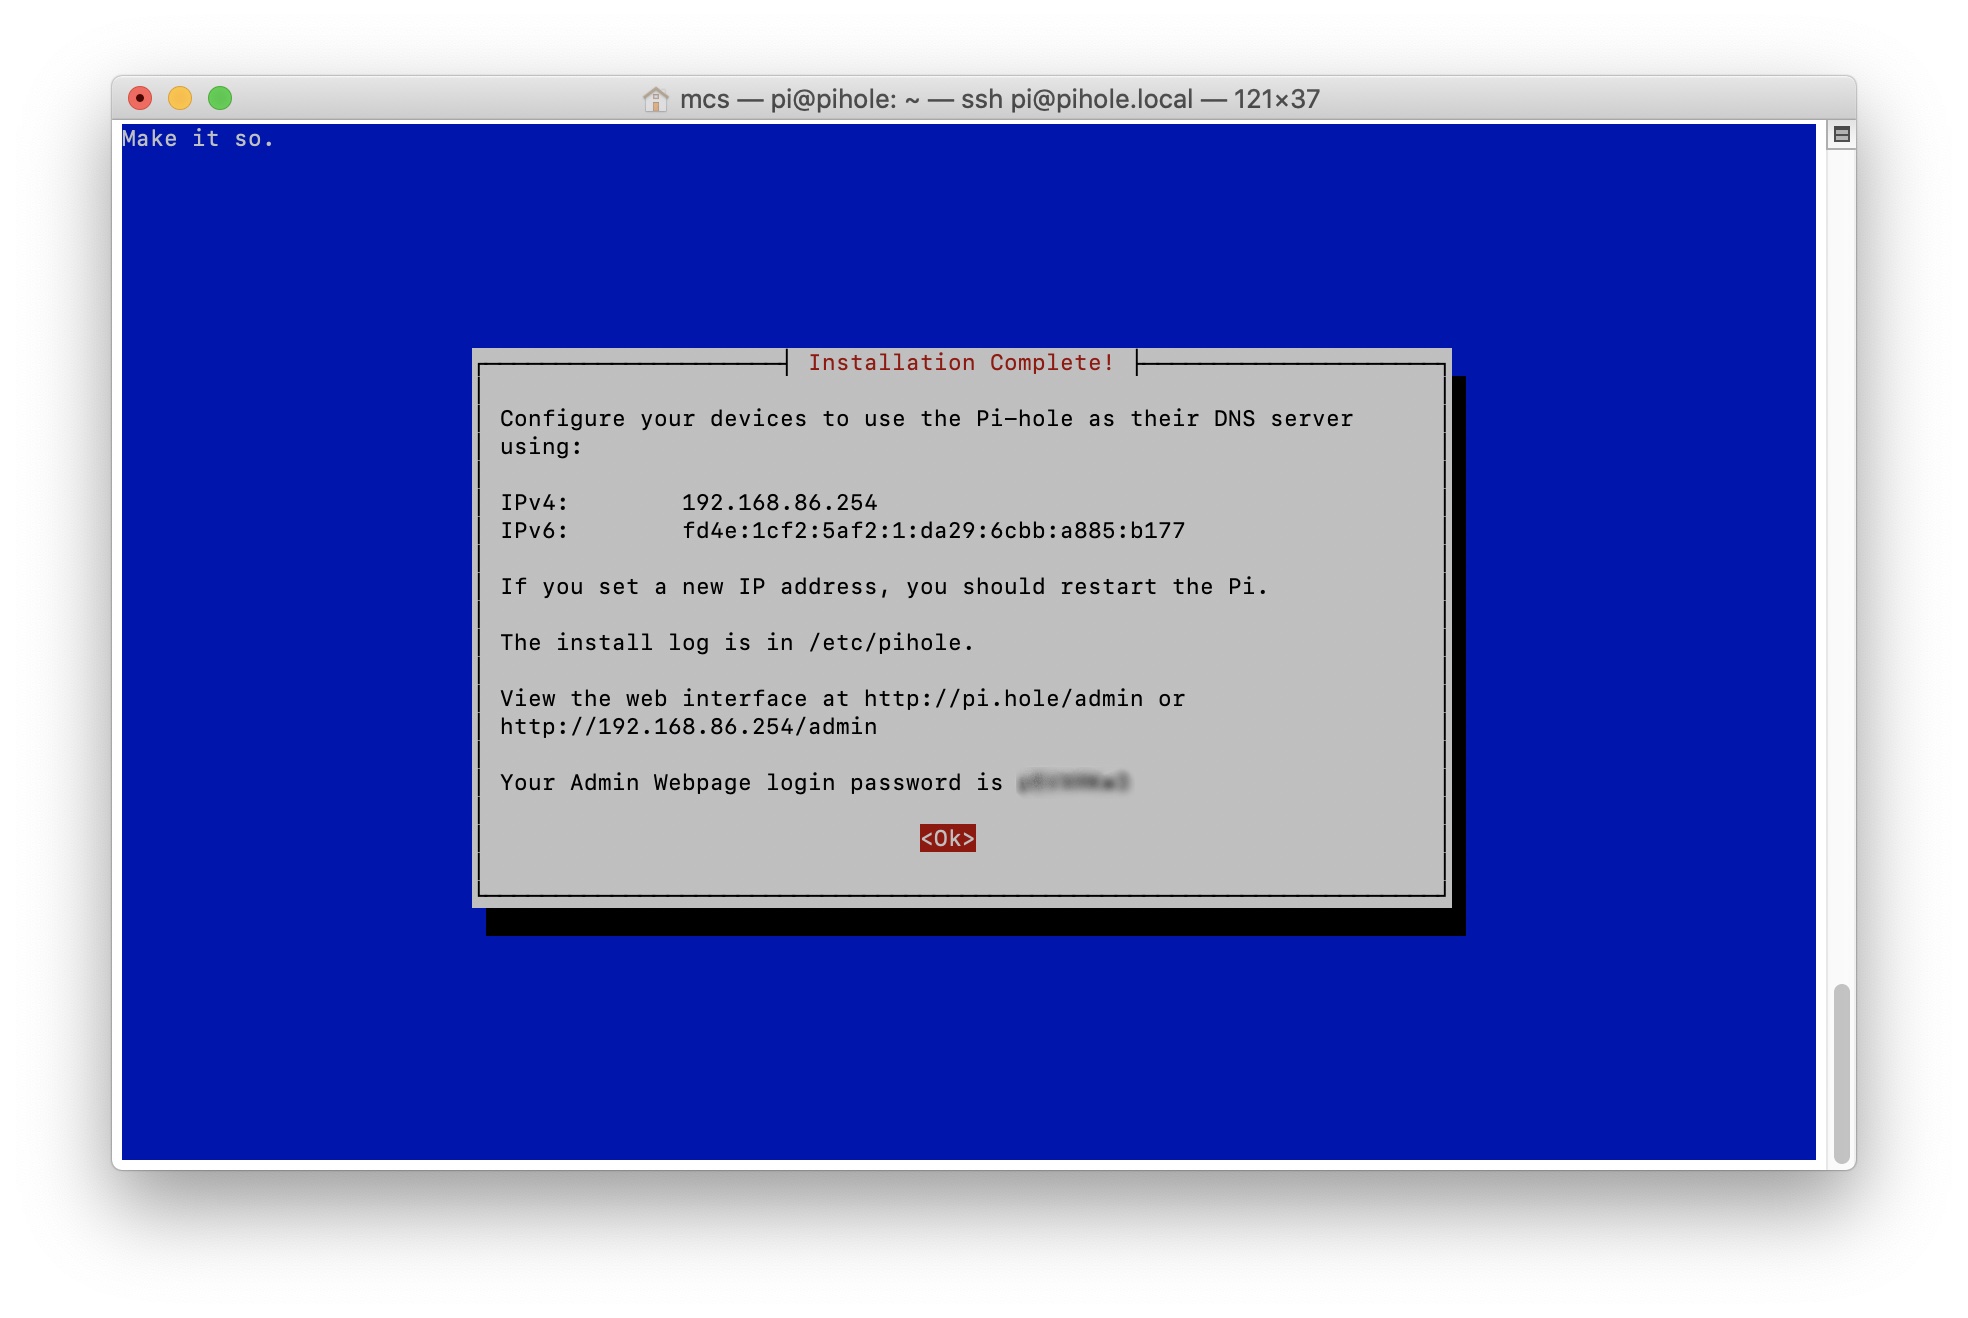
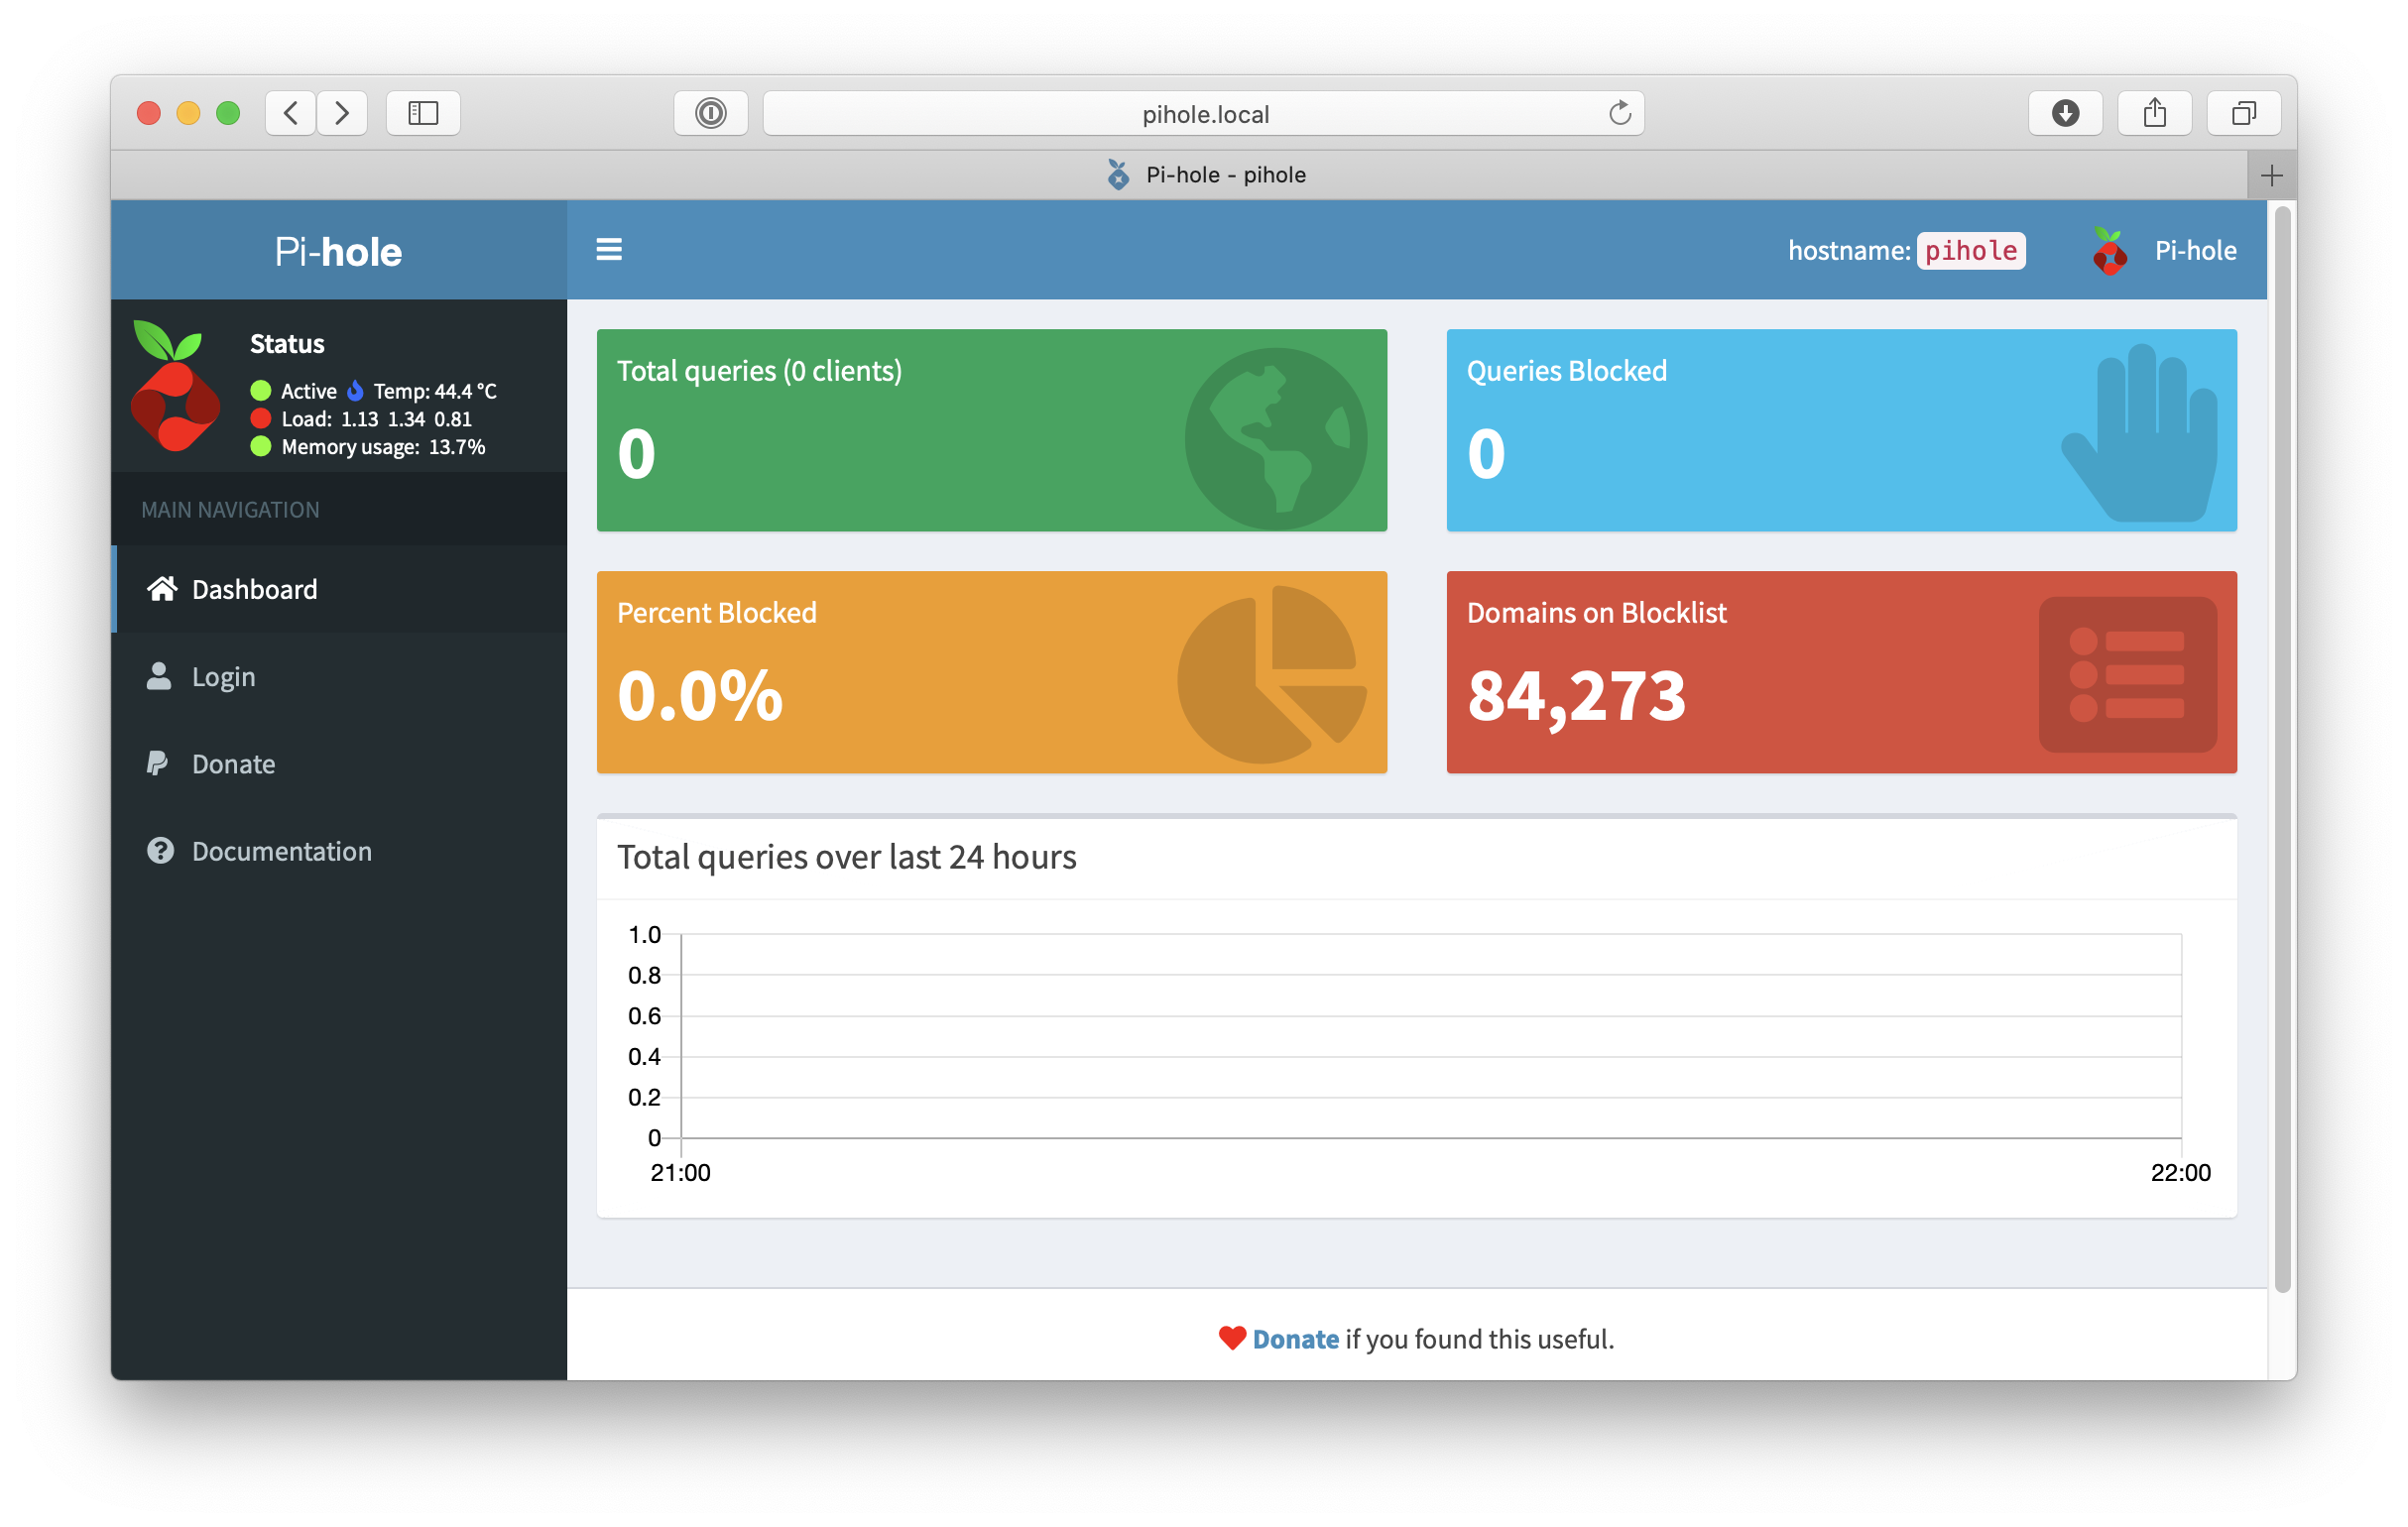
Use the IP address or the .local hostname you previously configured to access the web interface.
In my case this was http://pihole.local/admin.
You should be presented with
Configure Pi-hole as the network DNS
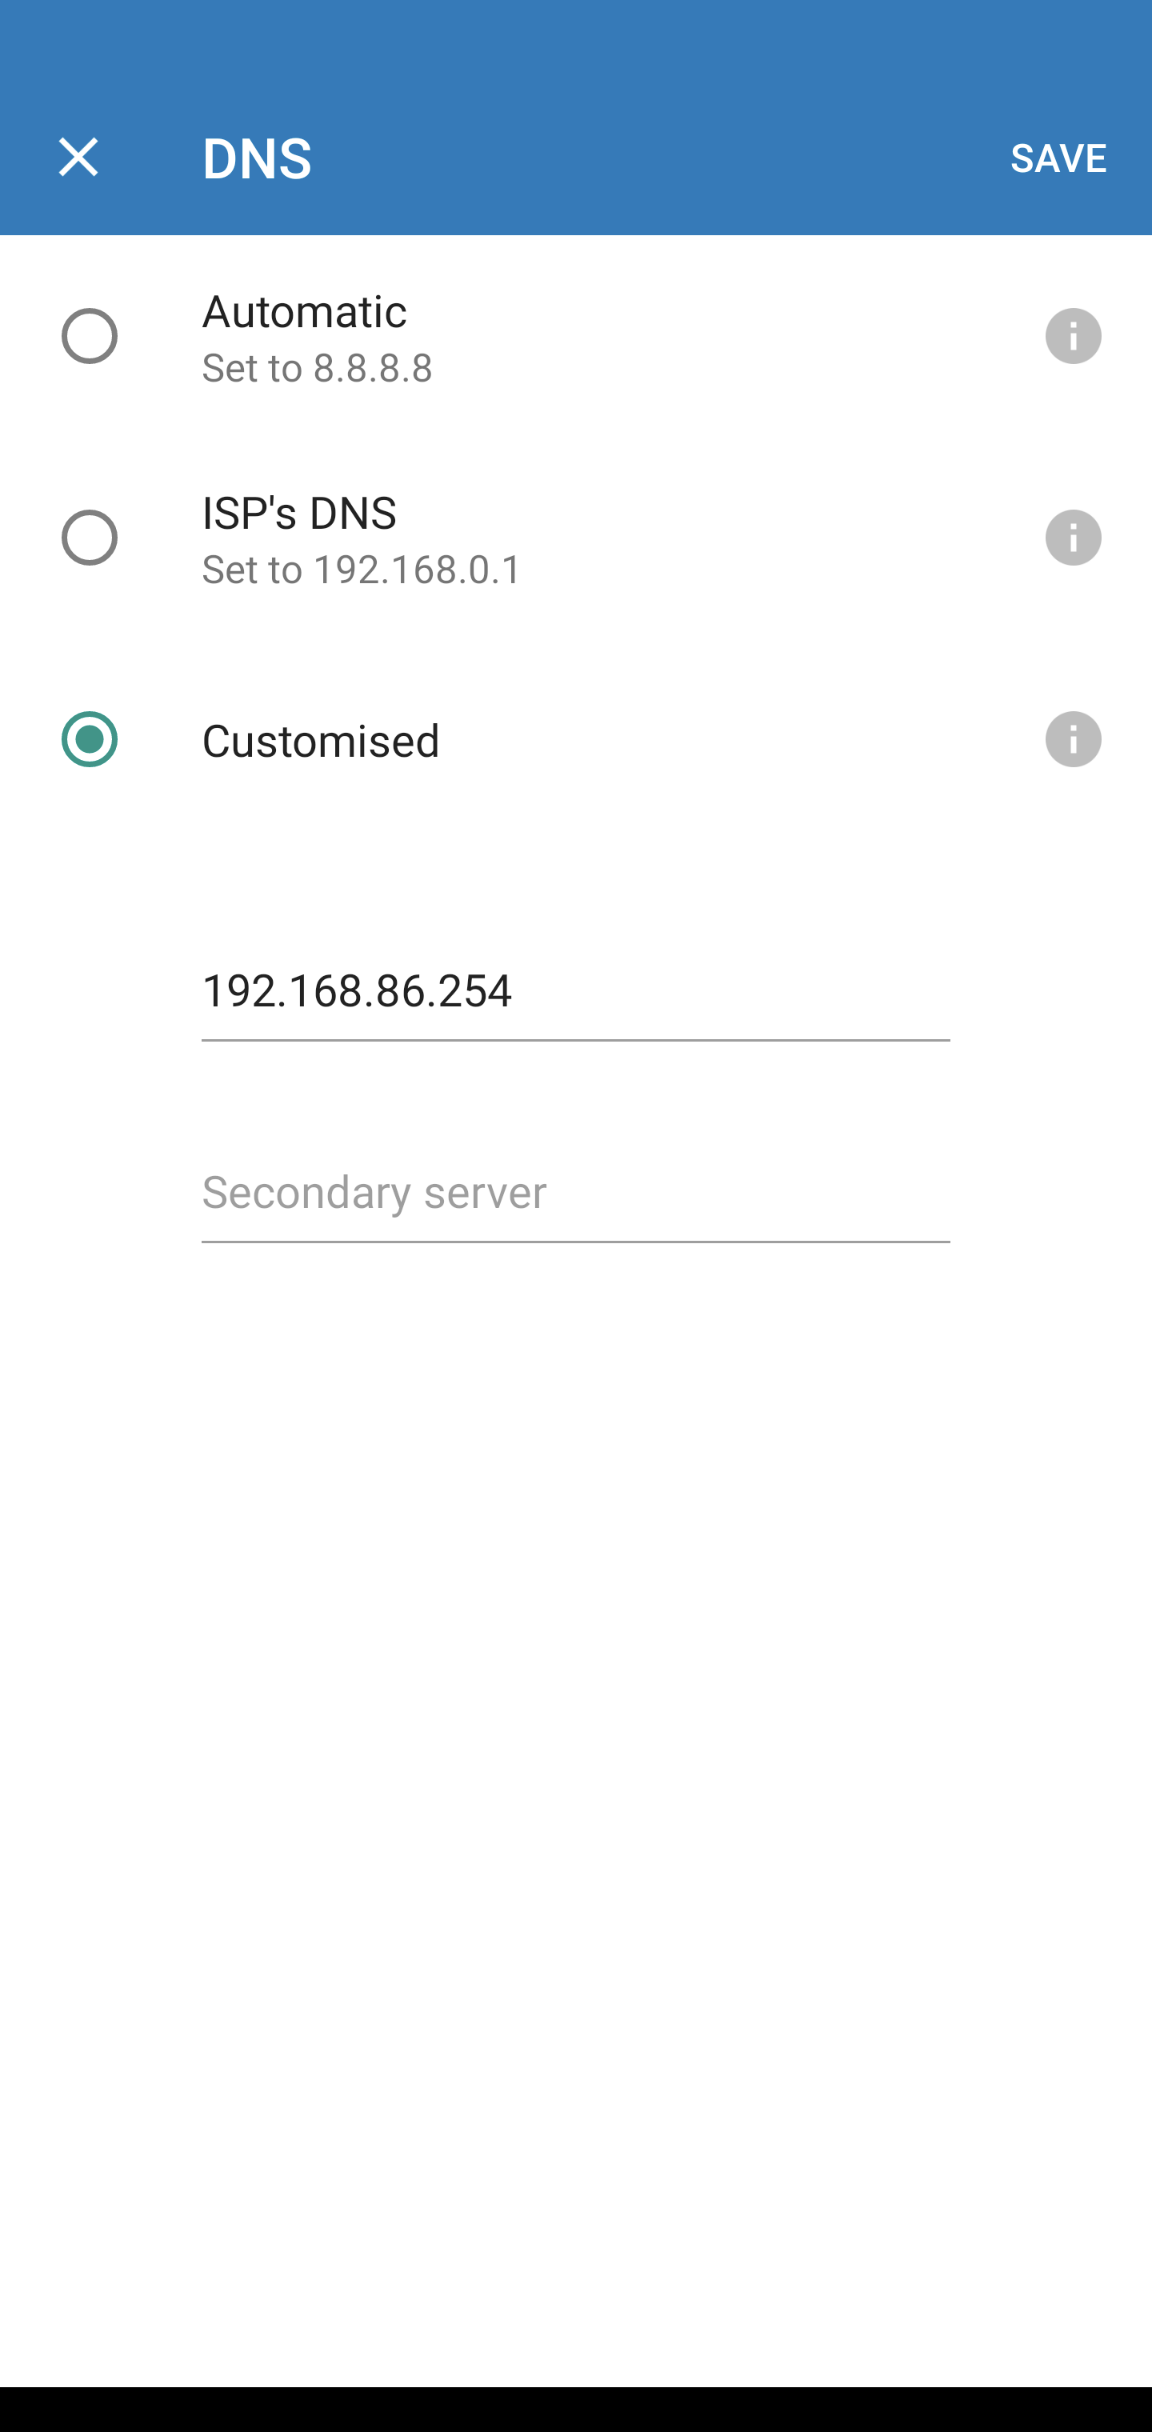
The Pi-hole is up and running, but we need to configure our network to use it. You can either do this on every device :(, or once on your router. We will choose the latter, configuring the DNS on your router will mean every device on your network will use the Pi-hole. I use a Google Nest Wifi Router so I just need to enter the Pi-hole’s IP address as the DNS in the App.
Enjoy Ad-less internet
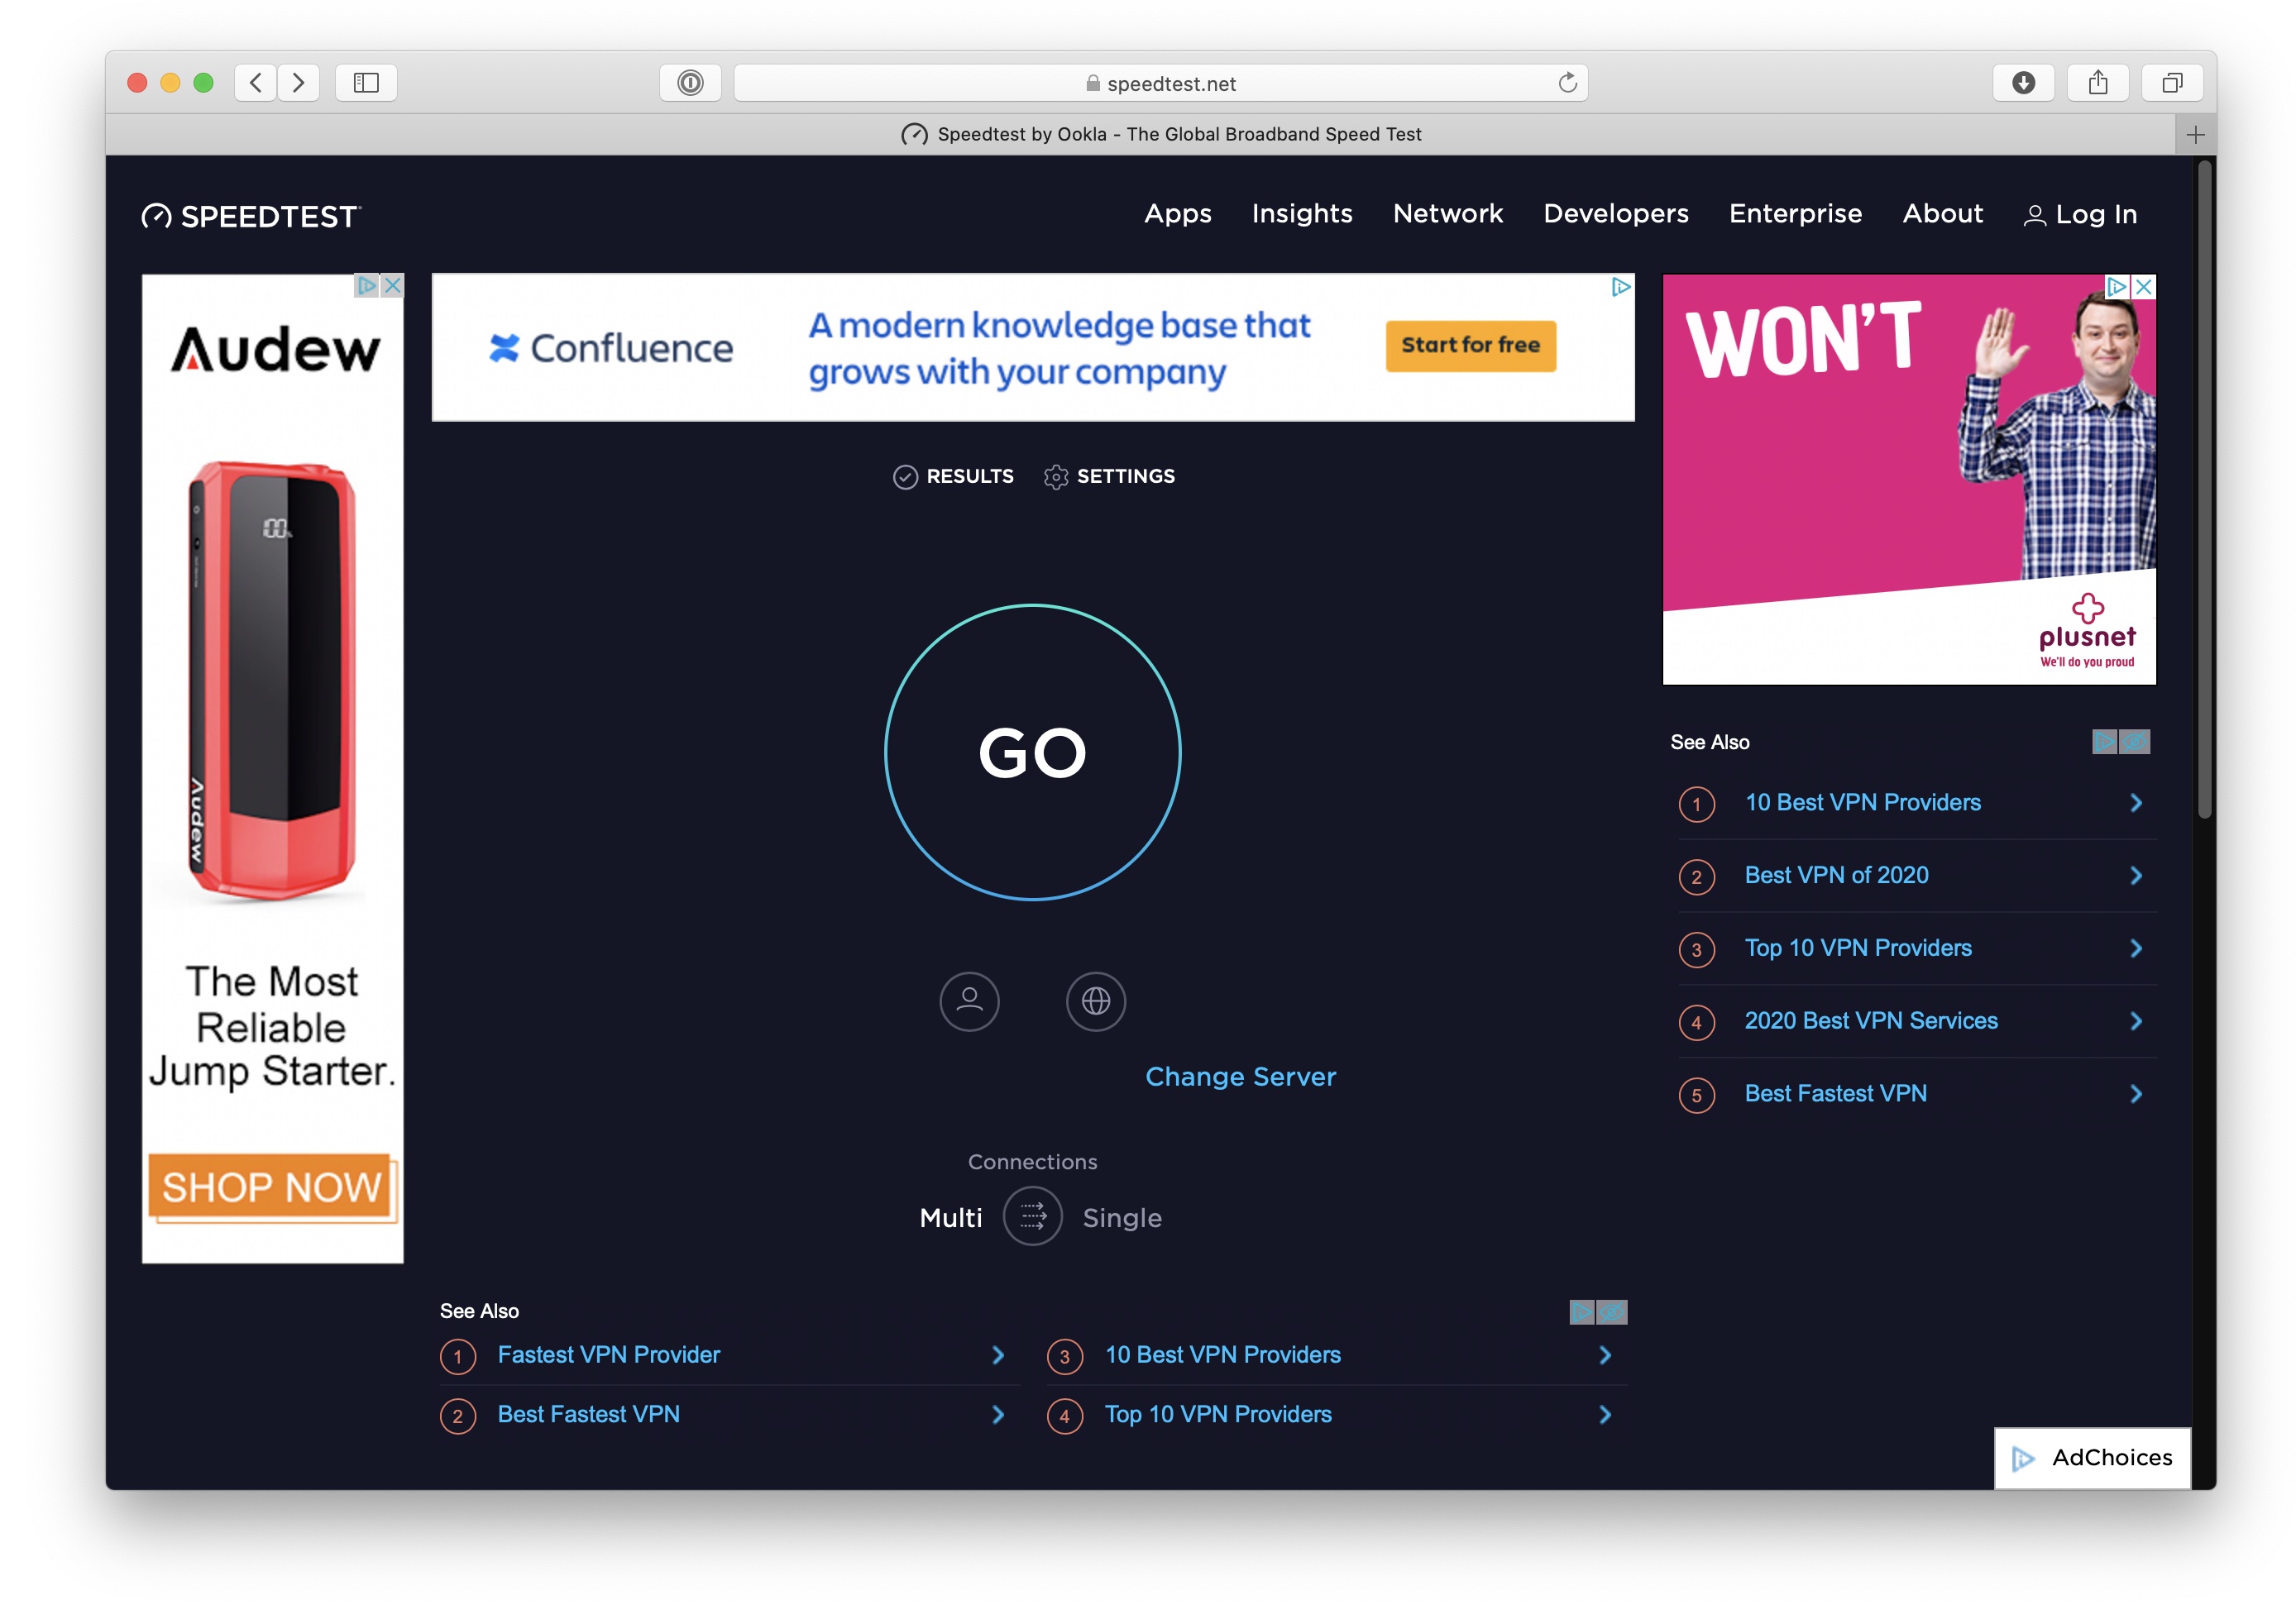
Time to try it out. One website we are all familiar with is Speedtest. Here is the before that we all recognize, with five ads:
Using Pi-hole we now have a rather sparse interface.
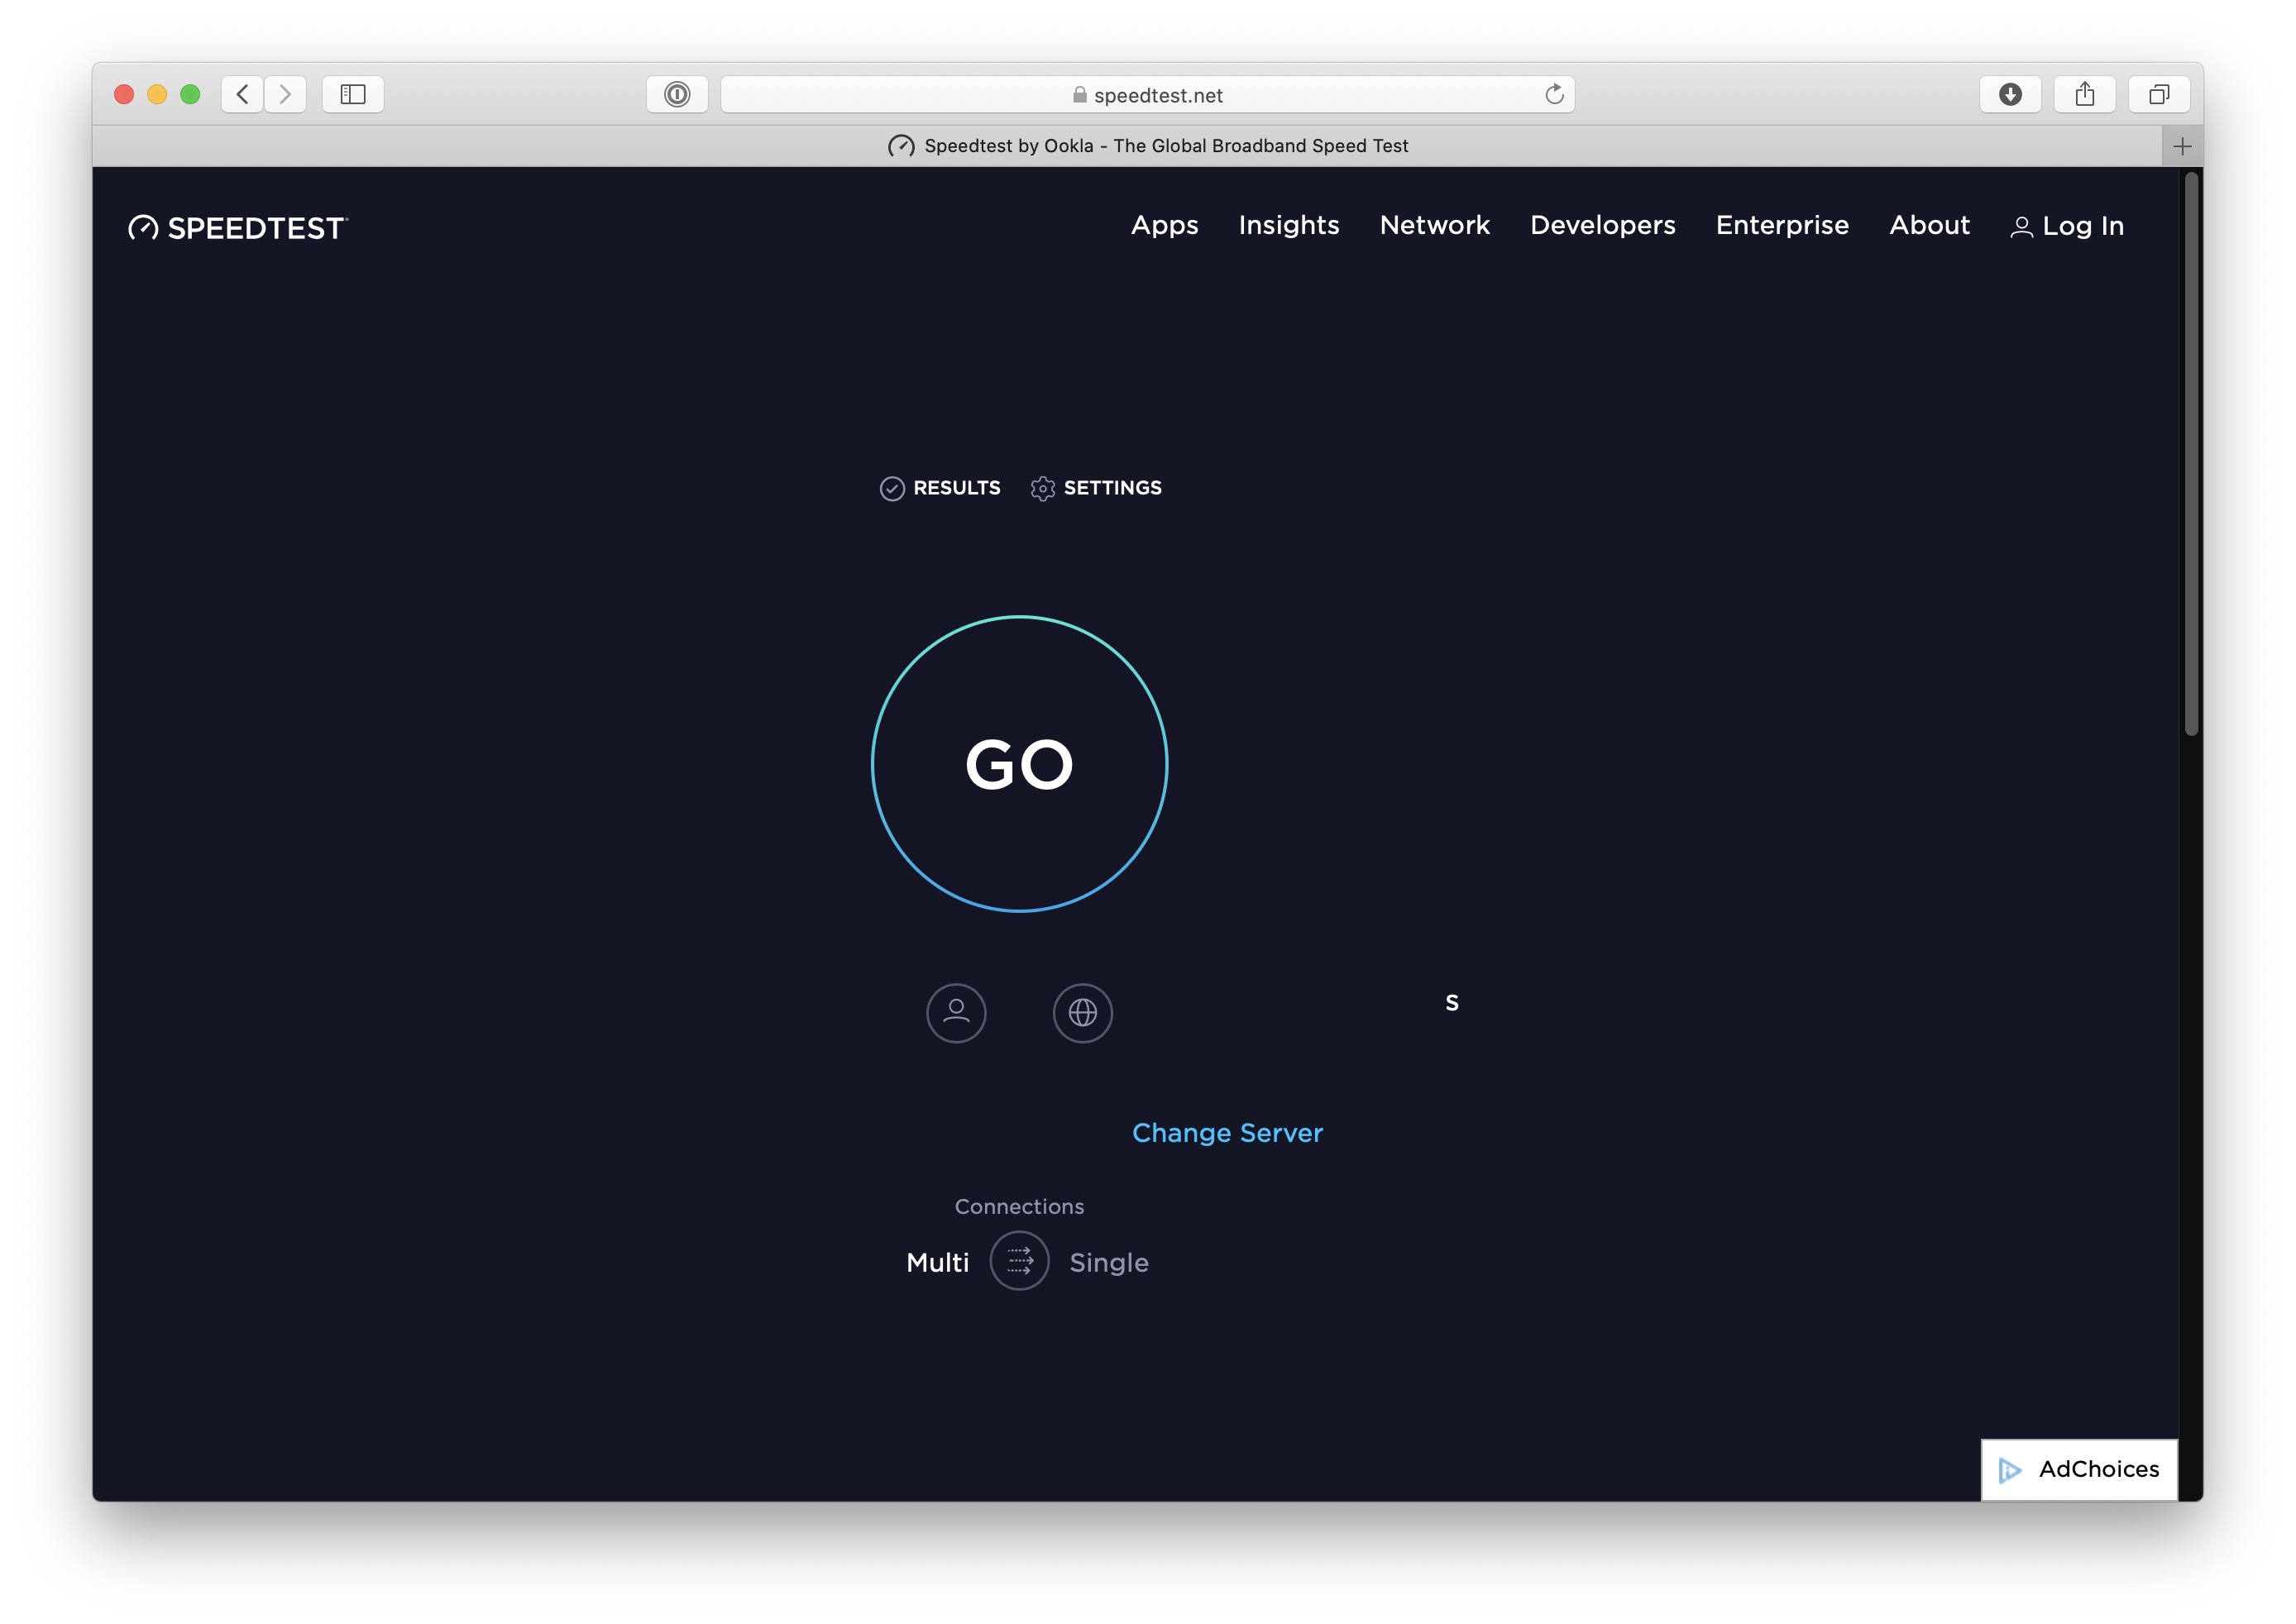
I think we can all agree that it was worth it. Not a lot of work for an ad-free experience!